Usage
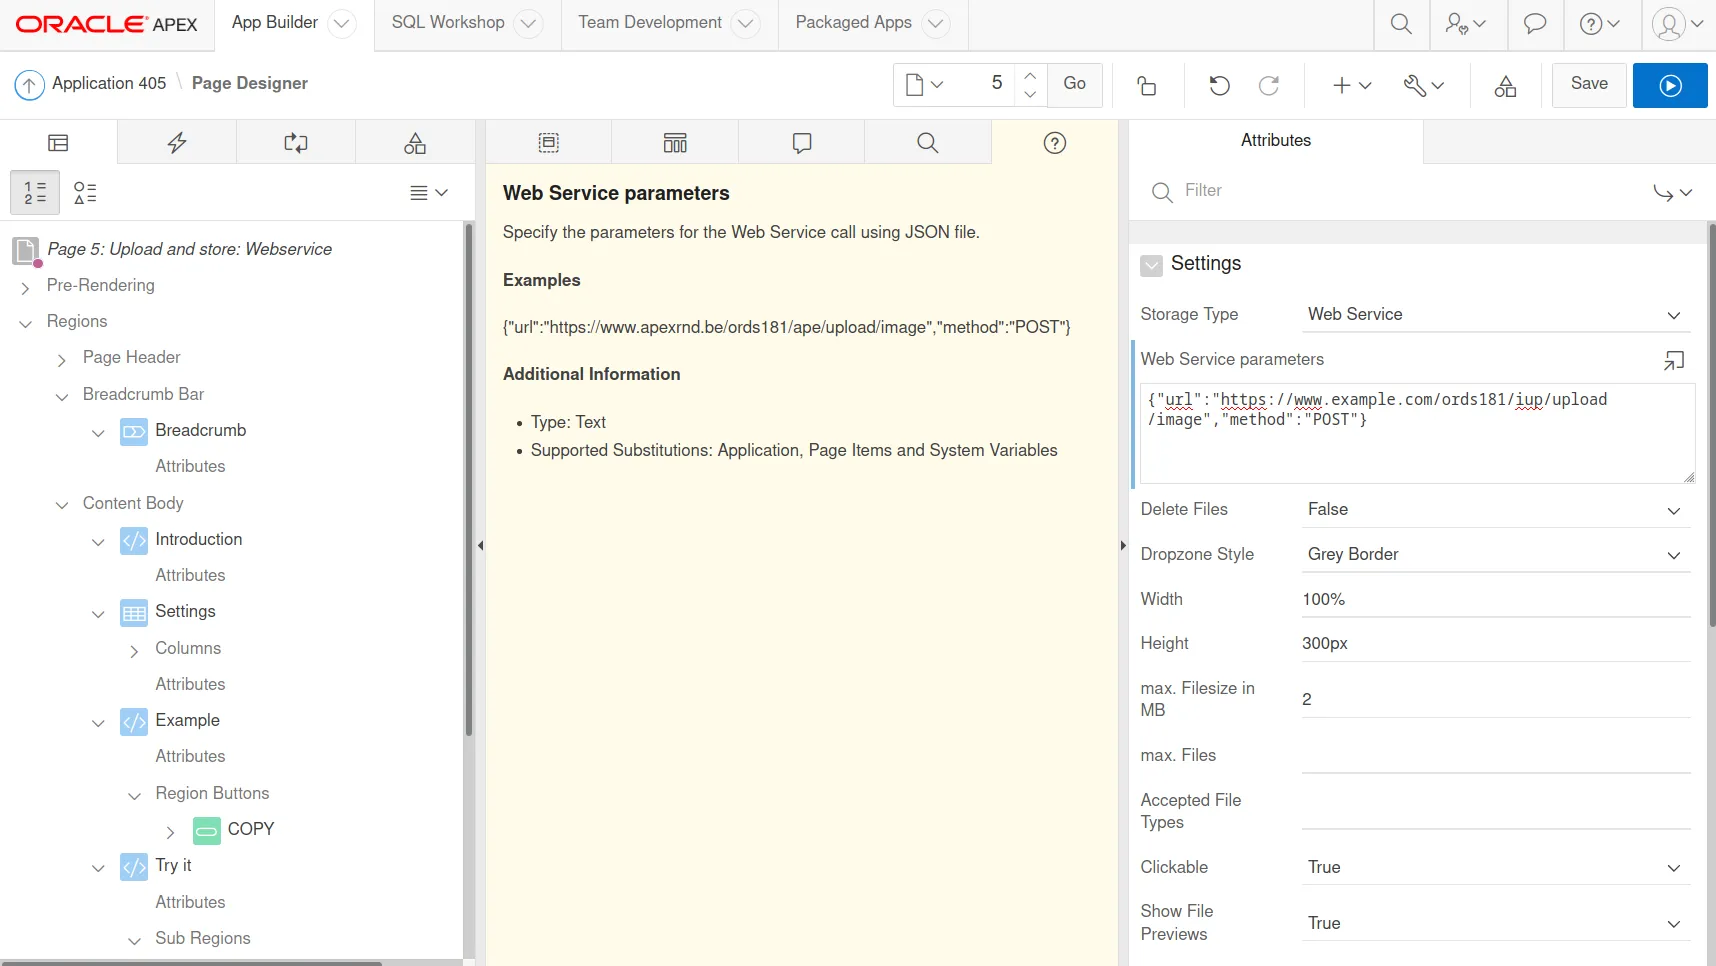
The plug-in attributes are exposed along with help text built into the page designer in the Help tab.
Example help for the Settings // Storage Type plug-in attribute is presented below:
Usage Guide
Section titled “Usage Guide”This section describes an example implementation of the plug-in in an Oracle APEX application. The usage guide shows the basic implementation of the plug-in and doesn’t describe the plug-in attributes.
Introduction
Section titled “Introduction”This usage guide helps you create a dropzone region on page 1, that will resize, watermark and rename the images.
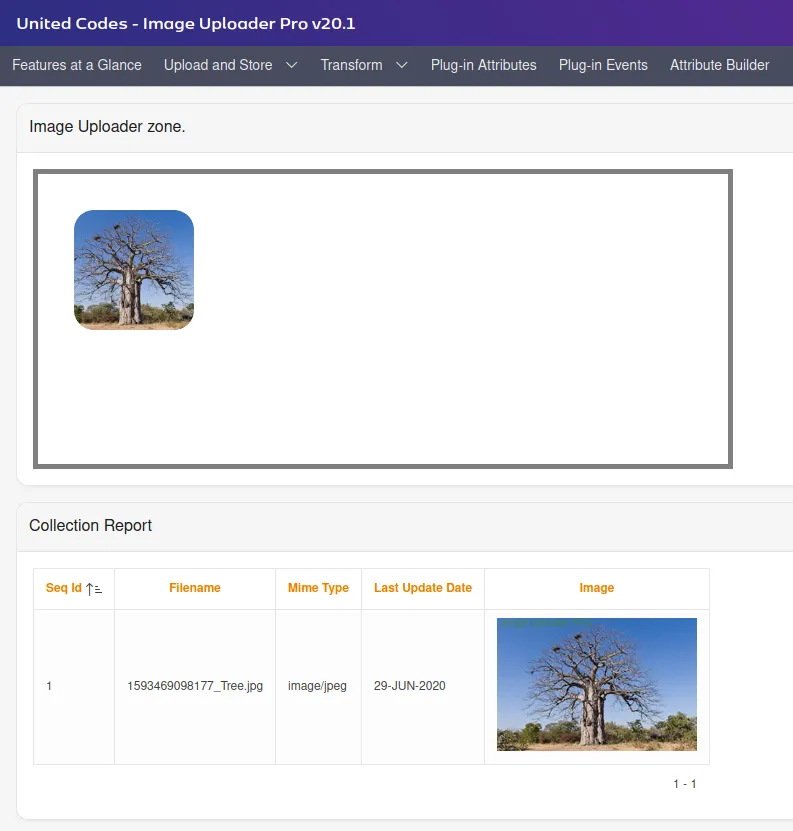
Then, will help you add a report to read from the default DROPZONE_UPLOAD collection to check on file upload. The region refresh occurs automatically and it listens to a custom event from the plug-in.
This guide assumes that you are uploading images.
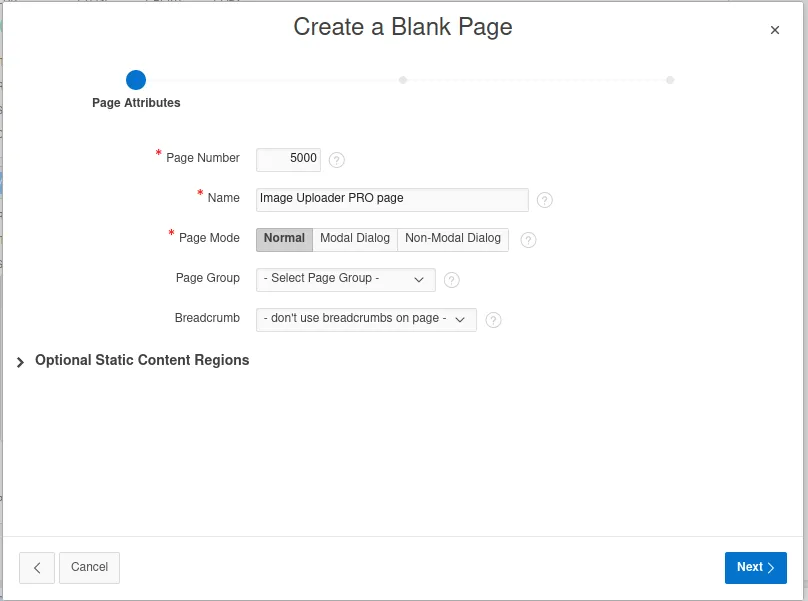
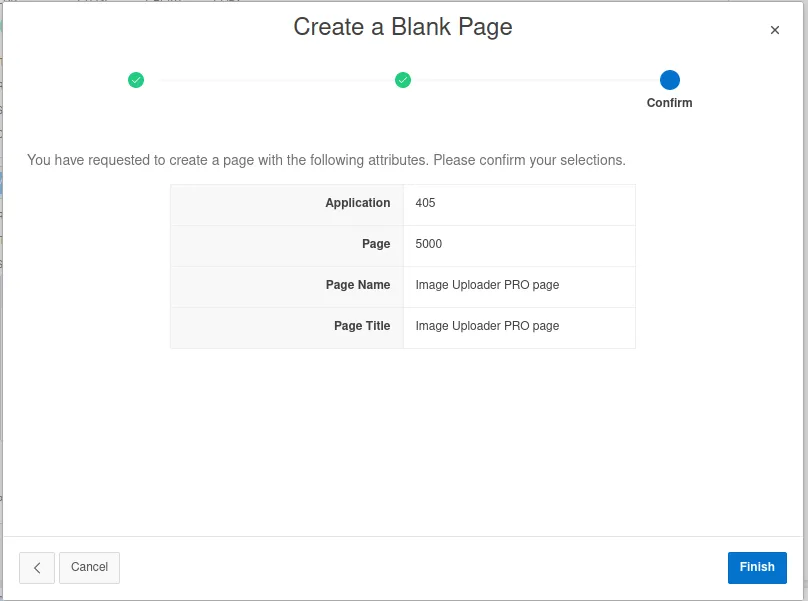
New blank page
Section titled “New blank page”Using the Oracle APEX Wizard, create a new blank page.
New Image Uploader Pro region
Section titled “New Image Uploader Pro region”Drag and drop an Image Uploader Pro region into the content body position.
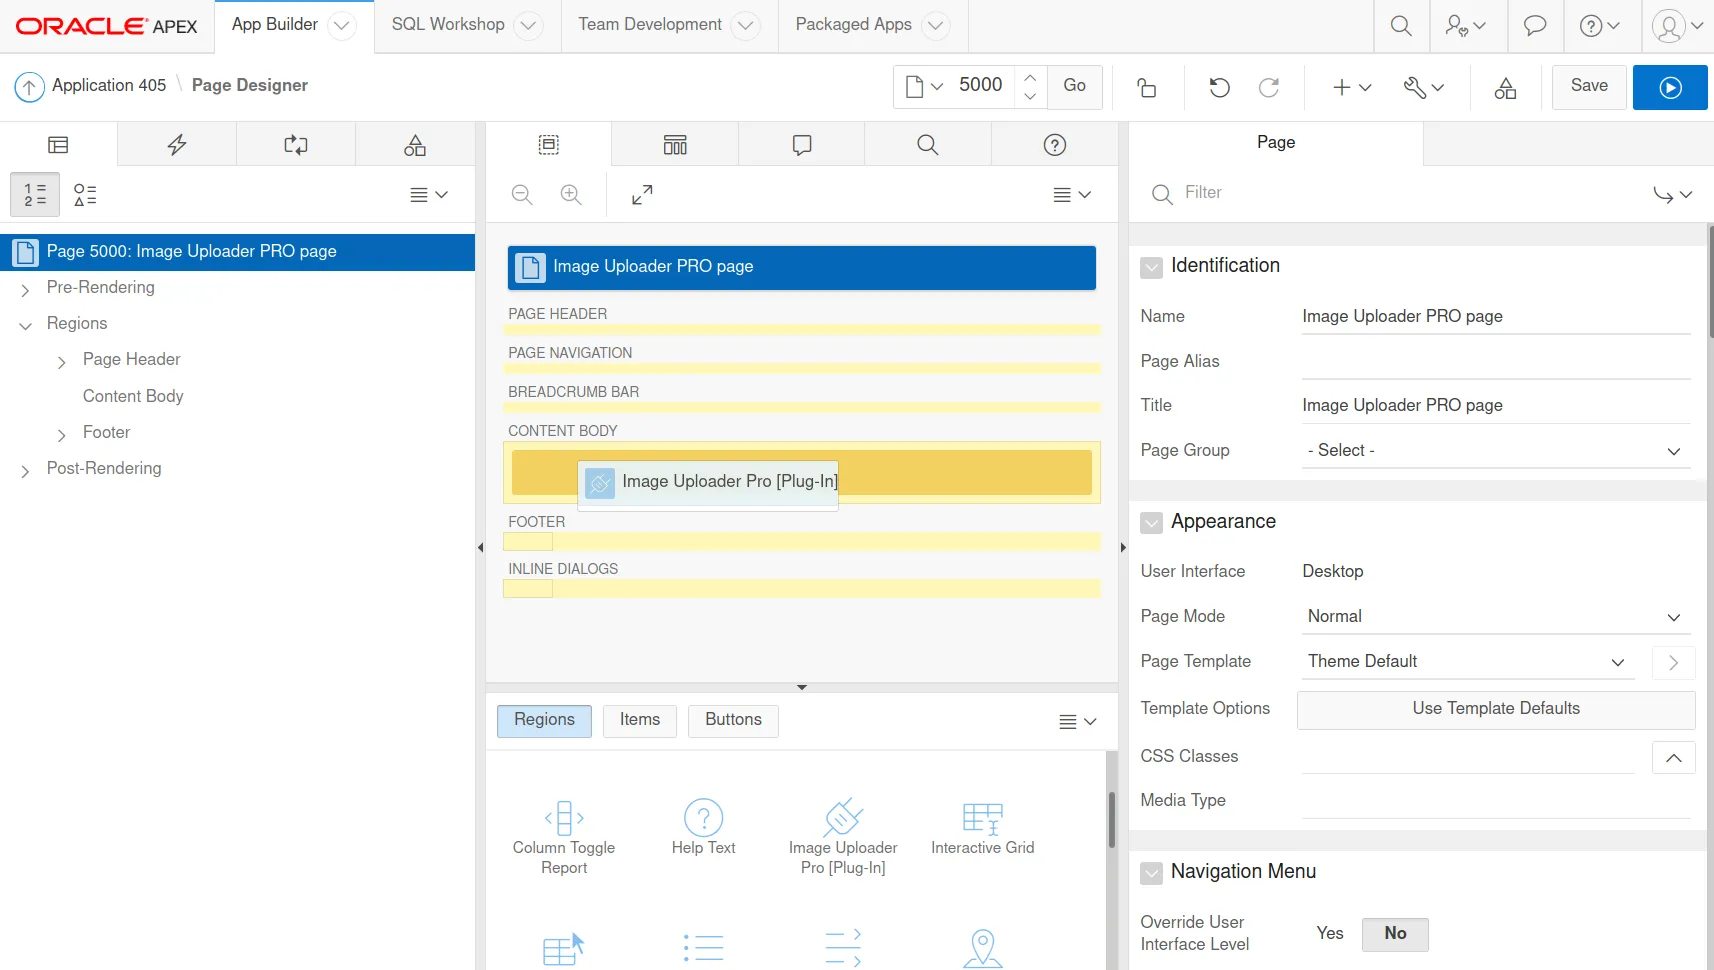
Set the Title to a desired value, for example: Image Uploader zone.
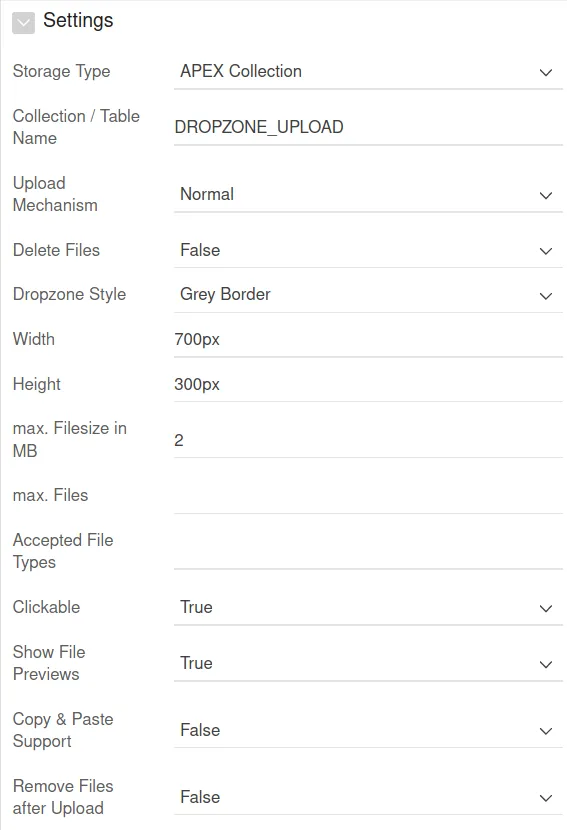
Navigate to the Attributes of the region and check the following values to support the upload and store to APEX collection process :
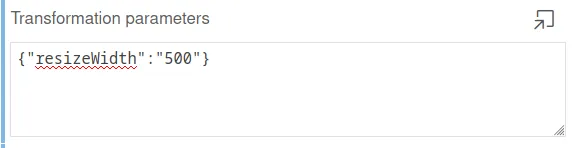
In order to resize all the images to 500px width keeping the image’s aspect ratio, set the following value into the Transformation Parameters section:
{“resizeWidth”:“500”}
In order to apply a watermark, set the following example values into the Watermark section:
{"font": "22px Arial", "fontColor": "#3b8a50", "positionX": 5, "positionY": 10, "text": "Image Uploader PRO"}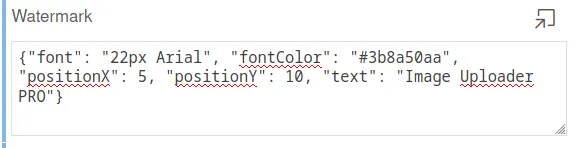
In order to rename all the images, adding a timestamp to the original name, set the following value into the Rename Function (JavaScript) section:
function (file) { let newName = new Date().getTime() + '/_' + file.name; return newName;}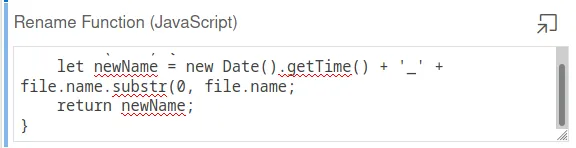
Save and run your page to test that the upload and store functionality works as expected.
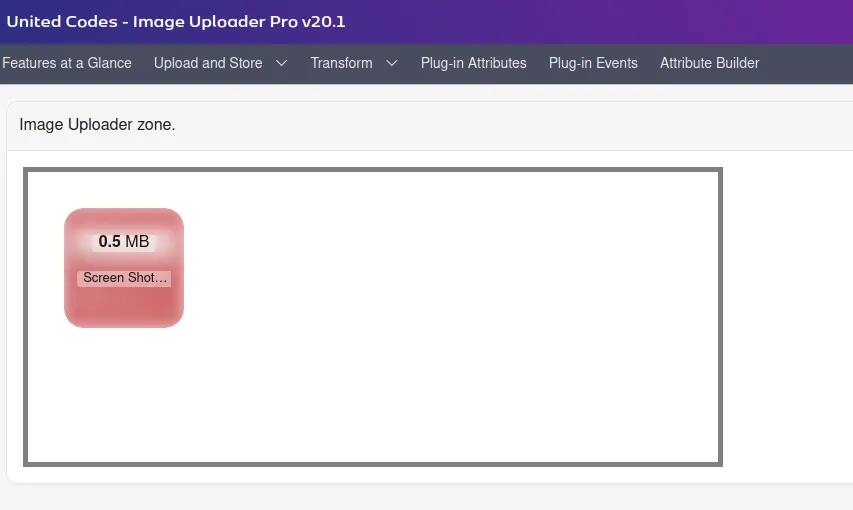
New view from collection
Section titled “New view from collection”The easiest way to show images from a collection is to create a view on top of the collection. Doing so, will allow us to use the native Display Image type of column.
In order to create a view, run the following script in SQL Command:
Create view iup_collections as
select  seq_id,  c001 as filename,  c002 as mime_type,  d001 as last_update_date,  Blob001from apex_collectionswhere collection_name = 'DROPZONE_UPLOAD'
New classic report region
Section titled “New classic report region”Add a classic report region below the previously added region. Set the Title to a desired value, for example: Collection Report. Set the “Source type” to SQL Query. Use the following query string for the “SQL Query” field:
select seq_id, filename, mime_type, last_update_date, dbms_lob.getlength(blob001) imagefrom iup_collections;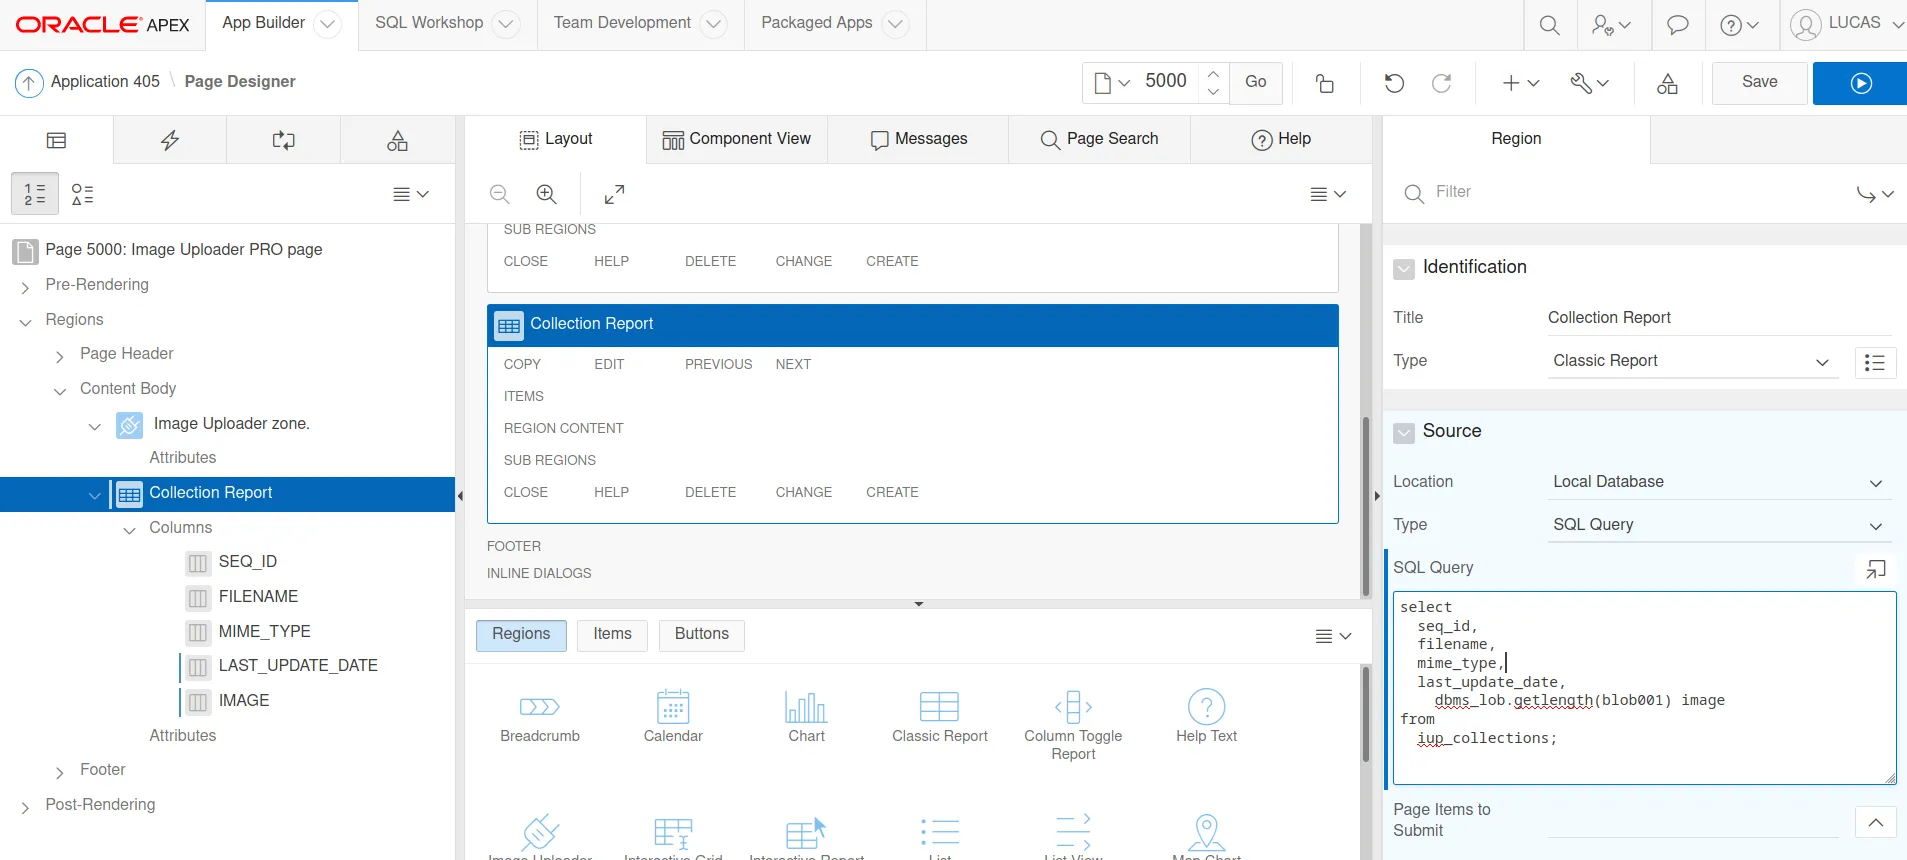
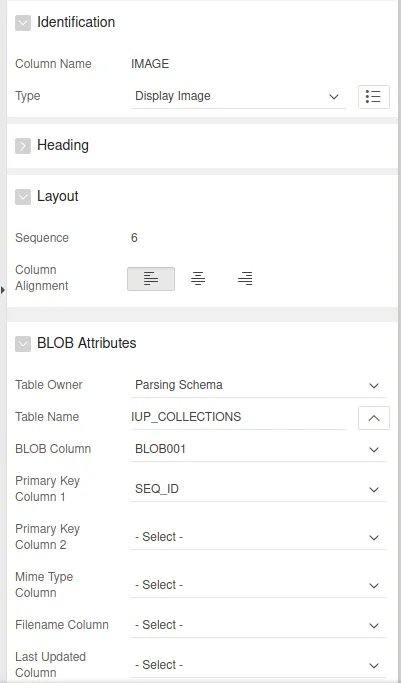
Click on the “BLOB001” column from the column list and set the type to Display Image. On the BLOB Attributes section, set the following parameters:
- Table Name:
IUP_COLLECTIONS - BLOB Column:
BLOB001 - Primary Key Column 1:
SEQ_ID
TIP: you can set some CSS properties under
Page properties > CSS > Inlineto ensure nicer image display, for example:td img {max-width:200px;}
Adding dynamic refresh
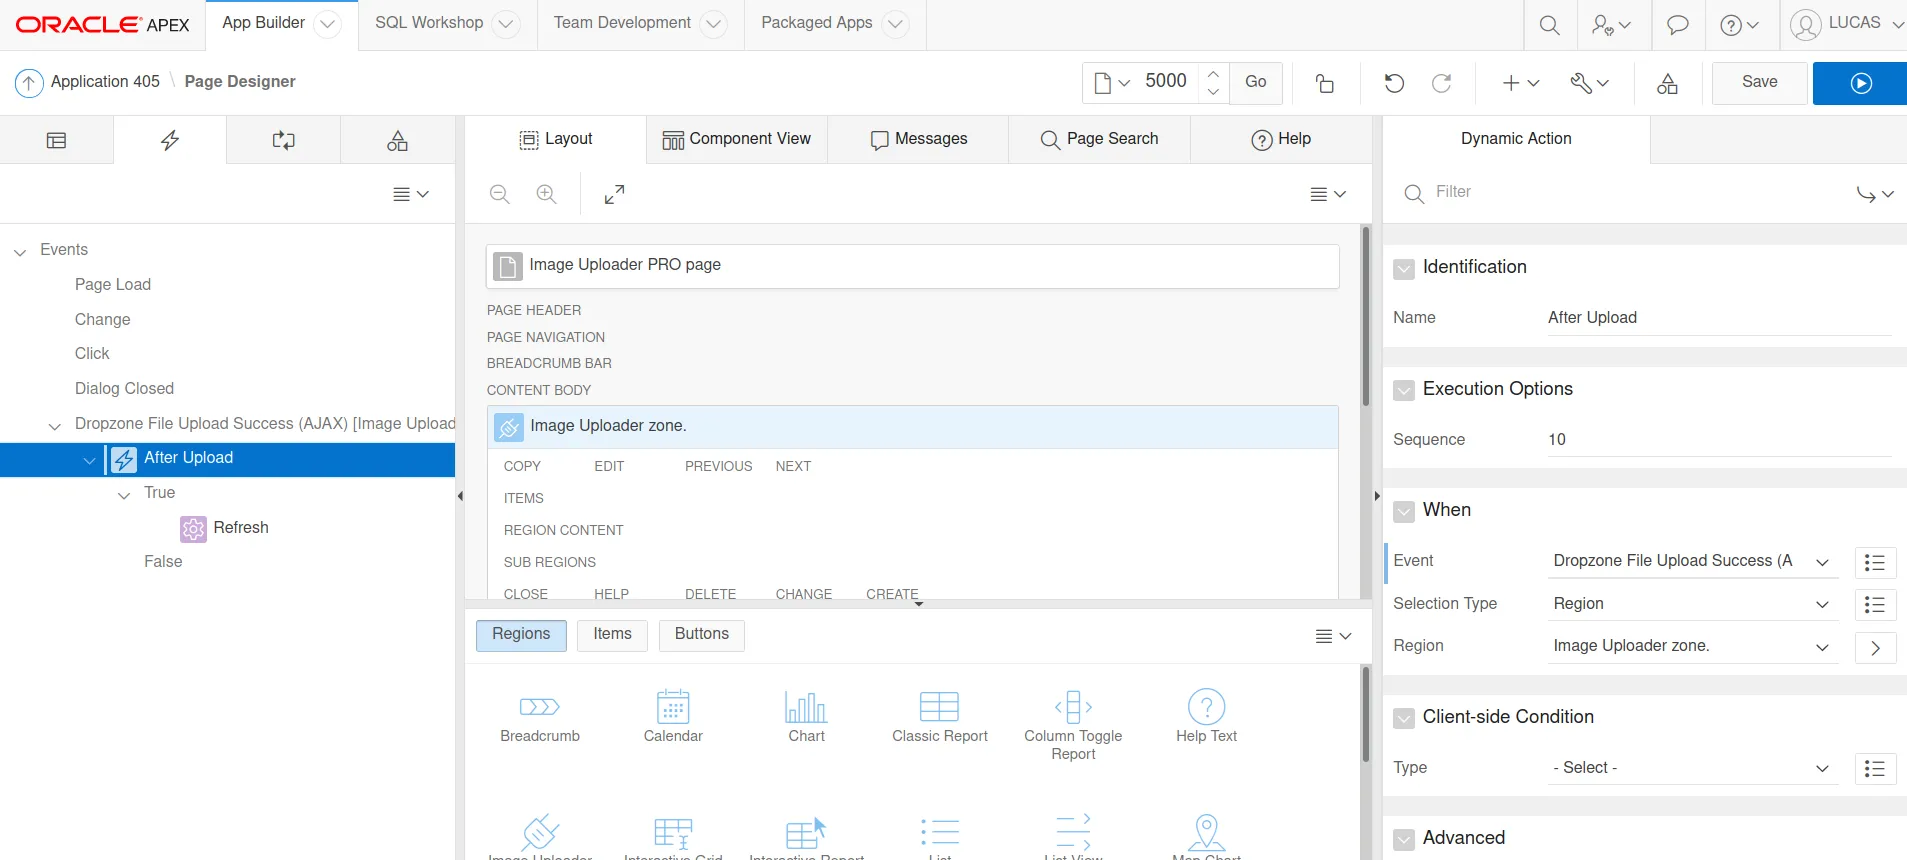
Section titled “Adding dynamic refresh”In order to automatically refresh the collection report, we can add a dynamic action listening to a custom event, triggered by the plug-in.
Add a new dynamic action and set the “When” property as below:
- Event: Dropzone File upload Success
- Selection Type: Region
- Region: Image Uploader zone
Set a “True” event to refresh the report.
Then run the application, test it and play with it.