Install using the DDL script
The manual installation is the best way to start using the plug-in in an existing Oracle APEX application. The manual installation creates only mandatory database objects required to use the plug-in successfully.
Database objects
After installing the plug-in with DDL script the database objects described in the table below will be created.
| Object name | Object type |
|---|---|
| UC_PLUGINSPRO_LICENSE | Table |
| UC_FROALA_SAMPLE_BLOBS | Table |
| UC_FROALA_SAMPLE_BLOBS_SEQ | Sequence |
| BI_UC_FROALA_SAMPLE_BLOBS | Trigger |
| UC_CRYPTO | Package |
| UC_PLUGINSPRO | Package |
| UC_FROALA_SETTINGS | Package |
| UC_FROALA_RTE | Package |
| UC_FROALA_SAMPLE_REST | Package |
| UC_FROALA_SAMPLE_APP | Package |
| UC_RTE_ACCESS_TOKEN | Type |
| RESTful service module | Script |
Steps
Import & run the DDL script creating database objects
-
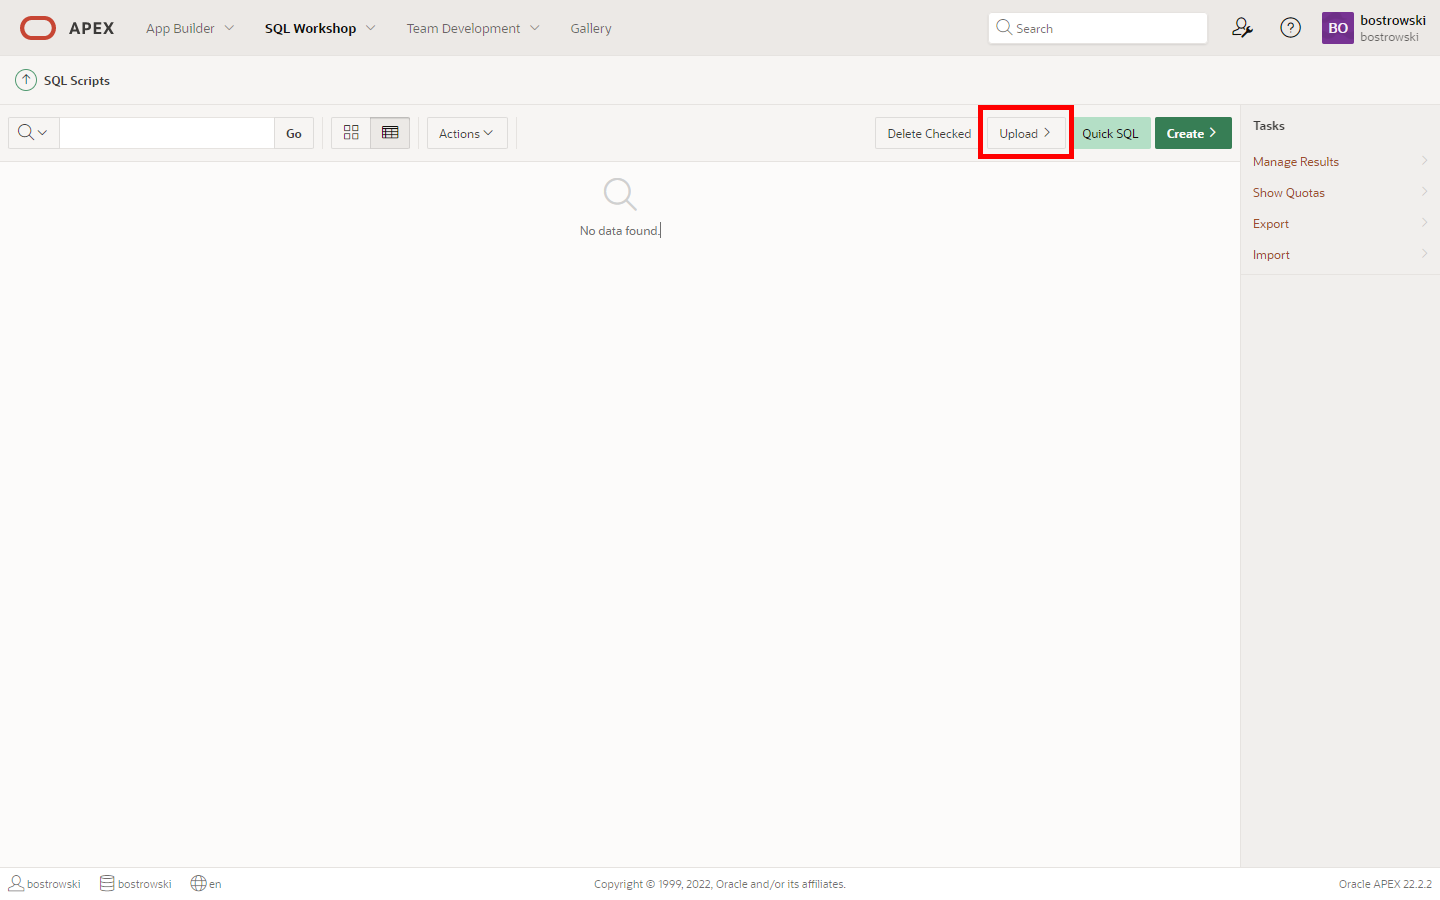
From the APEX Application Builder, in the top menu bar, select SQL Workshop and then SQL Scripts

-
Click the Upload button
-
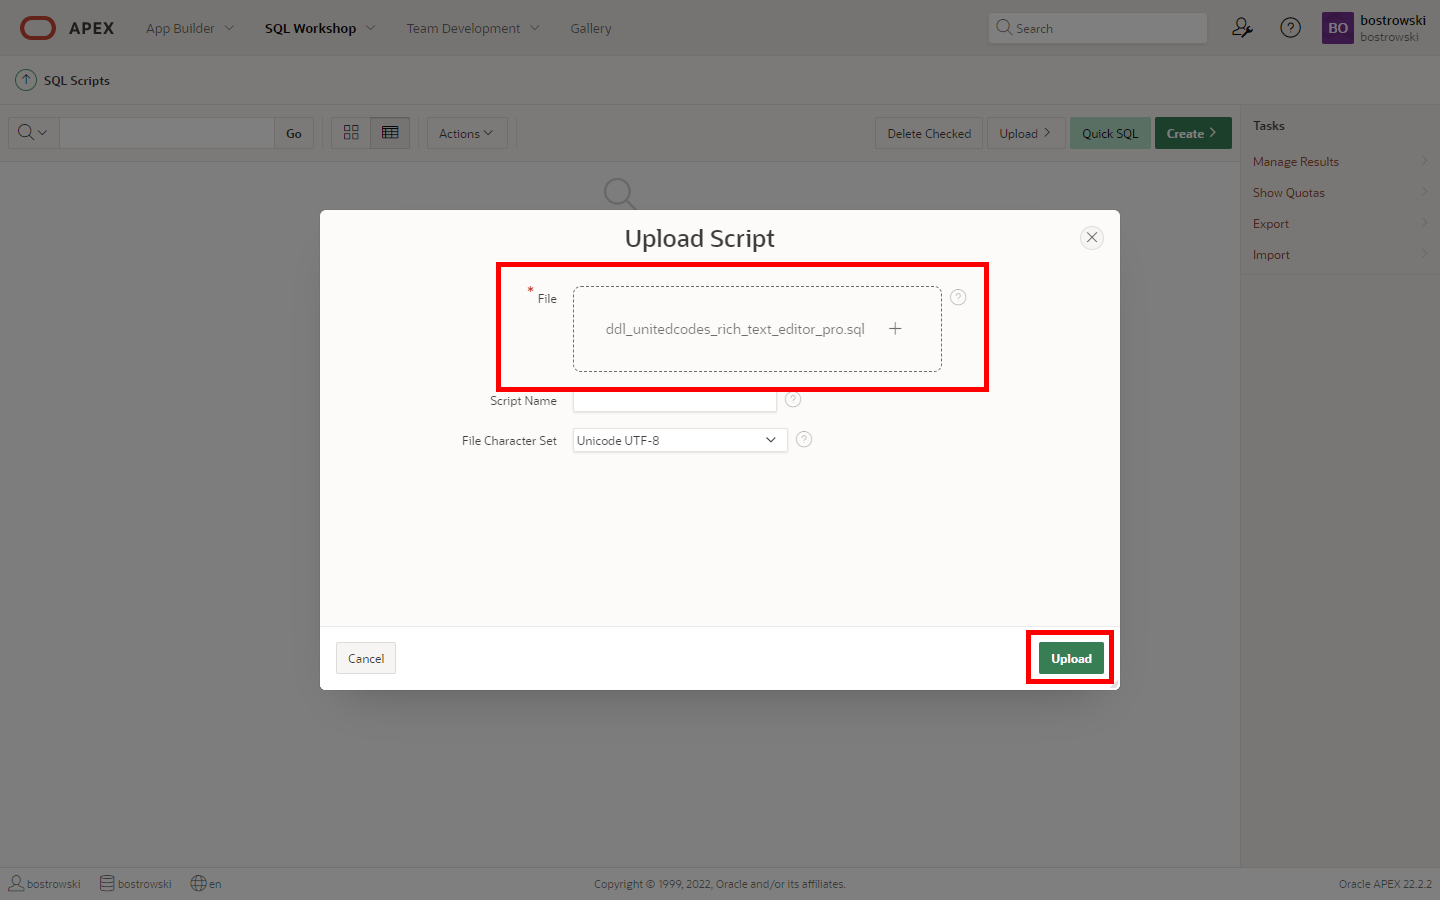
In the Upload Script dialog, click on Choose File and select the file:
ddl_uc_rte_manual_install.sql -
Click the Upload button
-
After successfully uploading the script, click the Run button.

-
Click the Run Now button on the confirmation screen.

-
Examine the installation summary - the script should not raise any errors
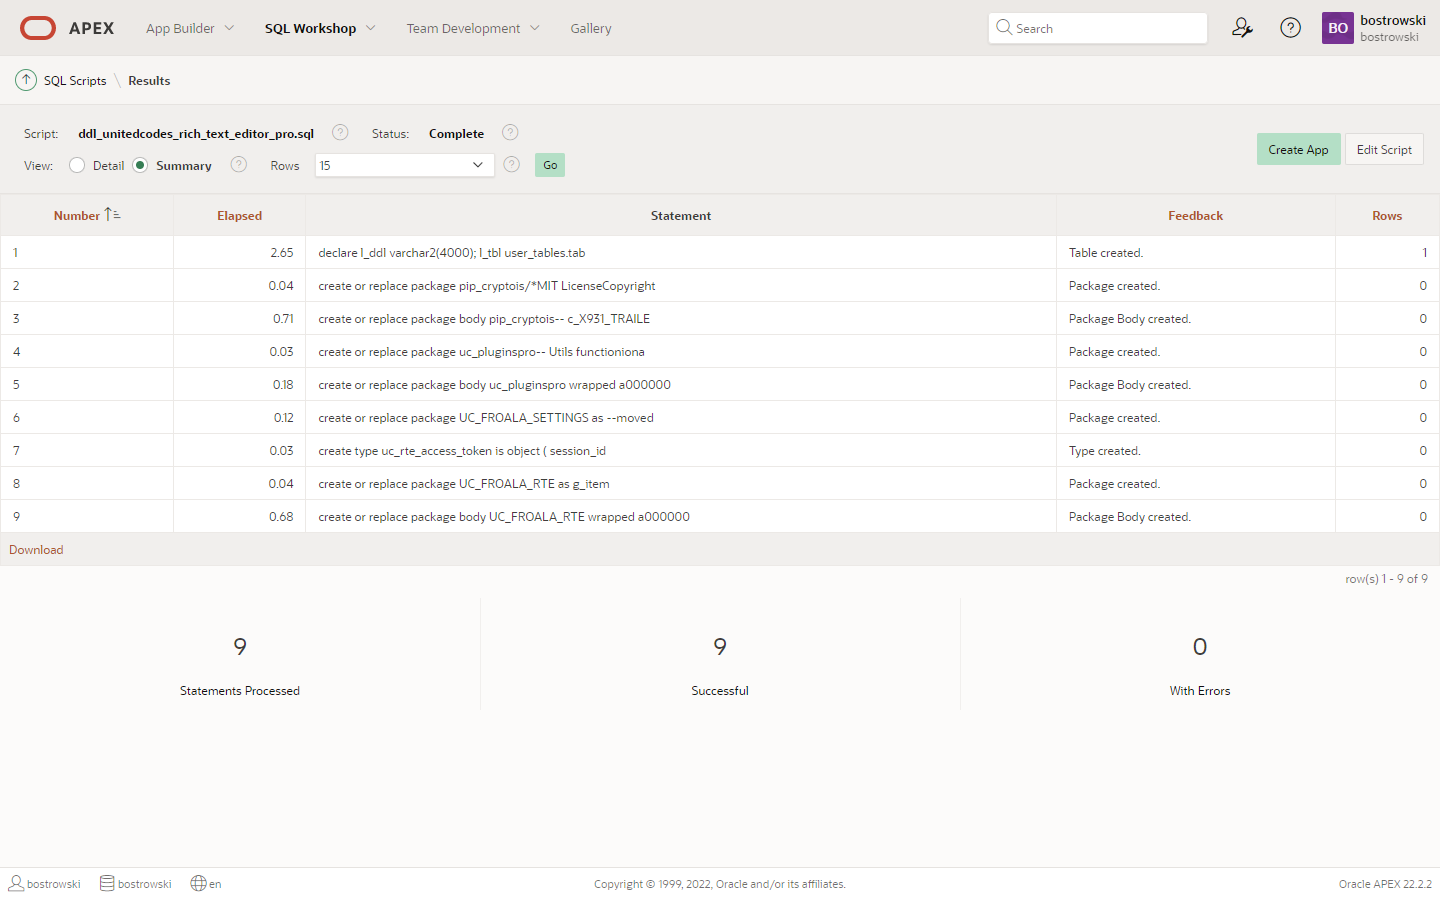
Once the required database objects are created, please proceed to the next step Import & install the item plug-in.
Import & install the item plug-in
-
Go to the APEX Application Builder home page.
-
Select the application where you want to use United Codes Rich Text Editor Pro
-
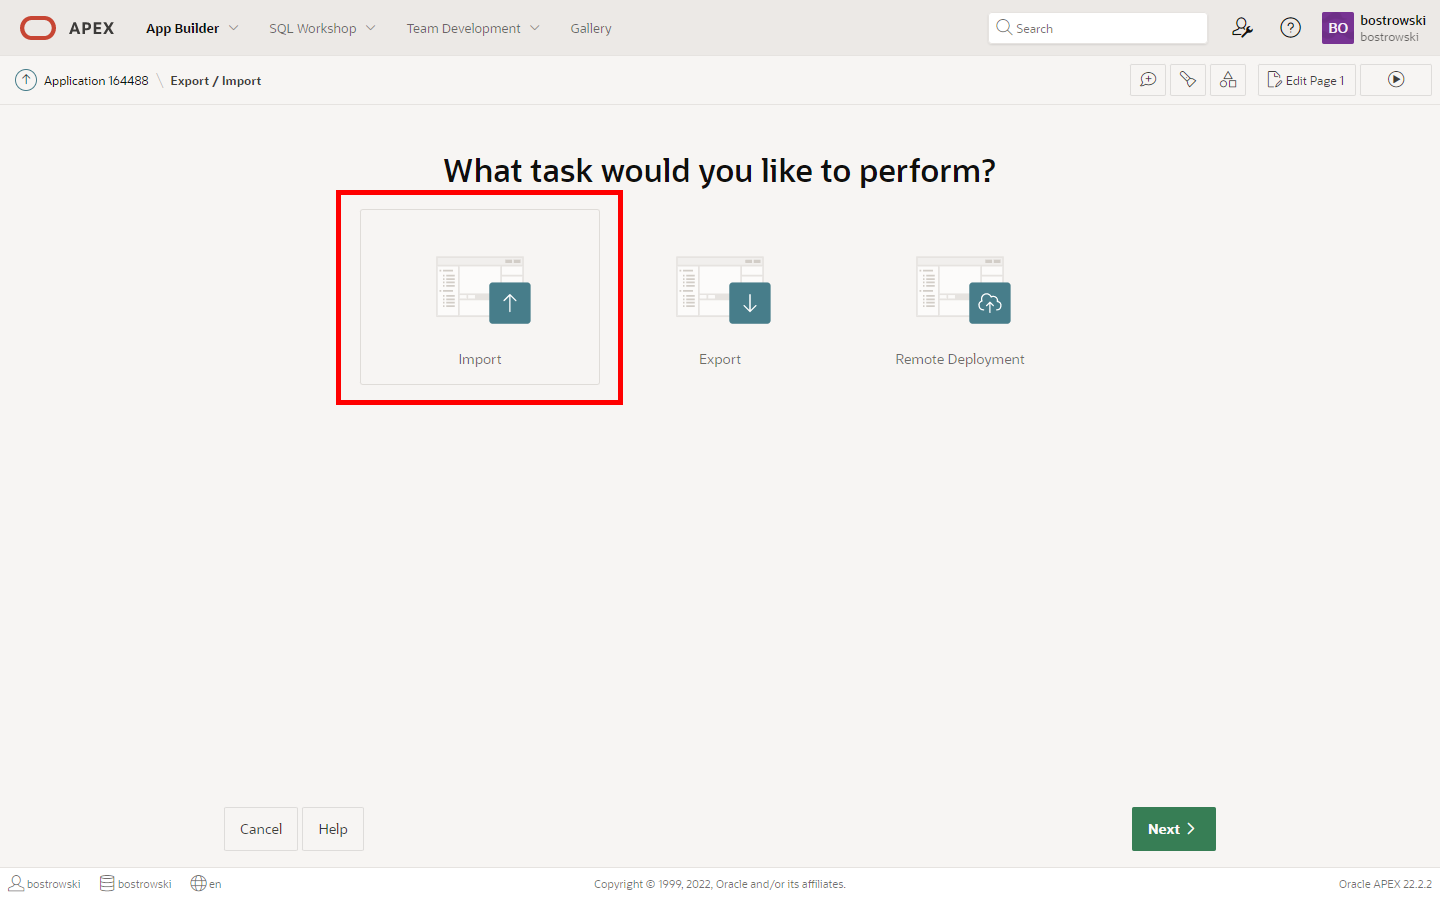
Go to Export / Import

-
Click Import tile
-
Click on the Drag and Drop
-
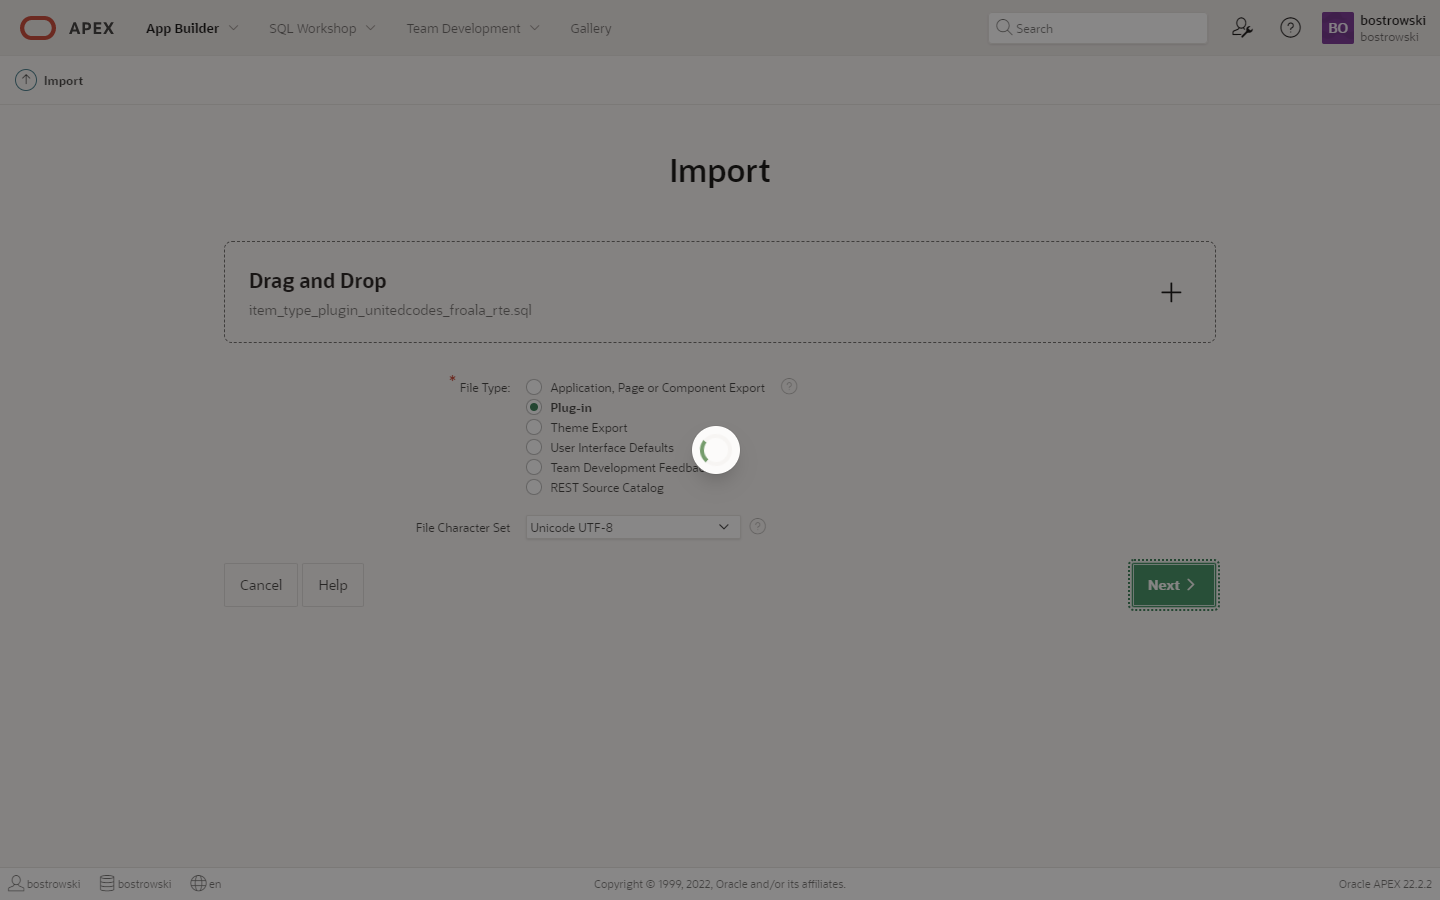
Select the plug-in installation file apex222_item_type_plugin_unitedcodes_froala_rte.sql`
-
Set File Type to Plug-in
-
Click Next button

-
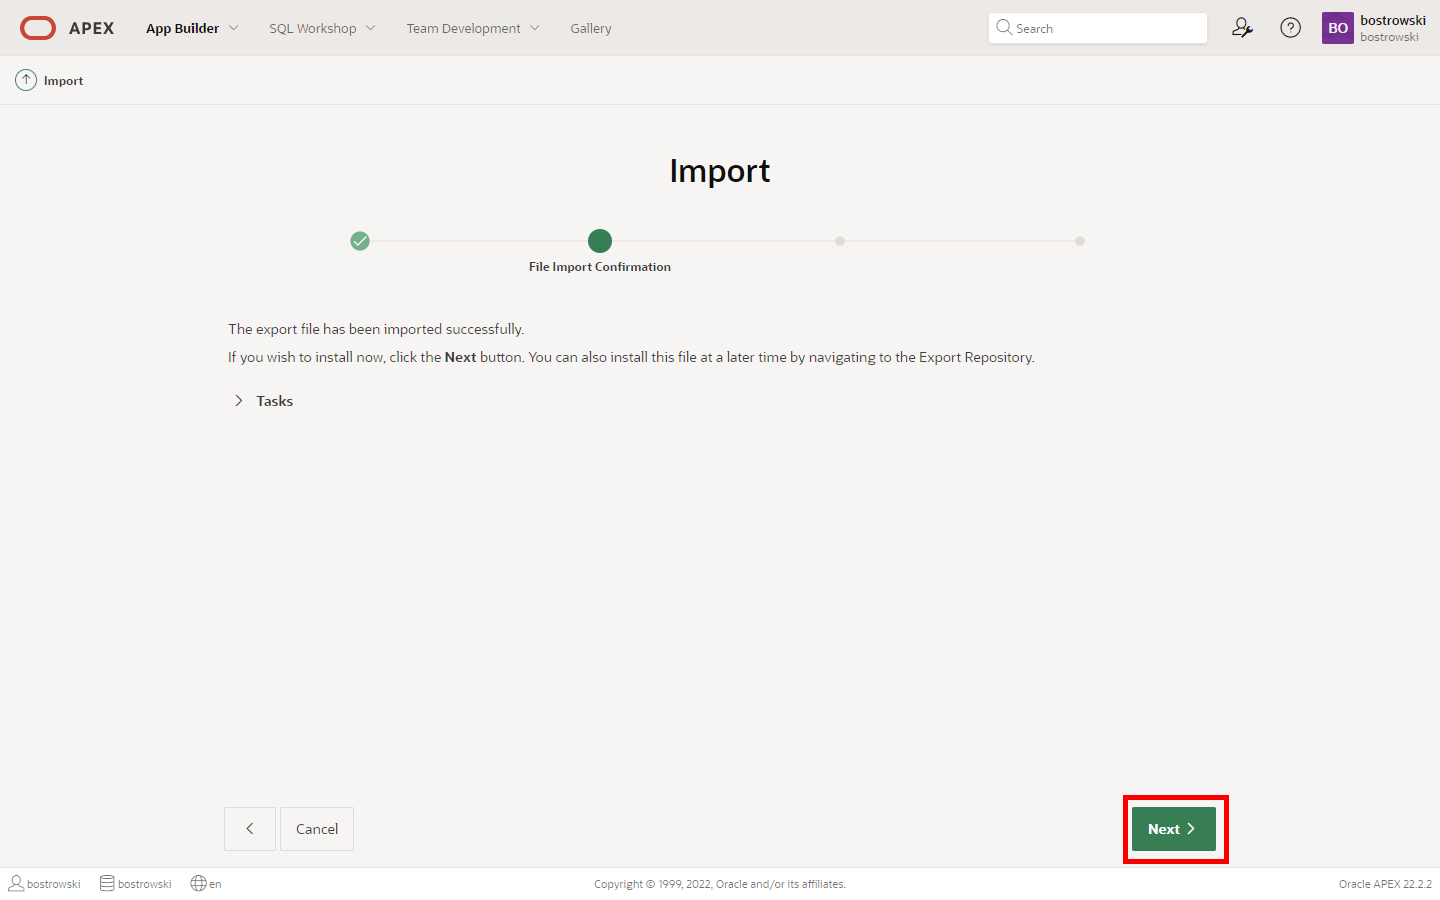
Wait until the file is imported successfully
-
Click the Next button
-
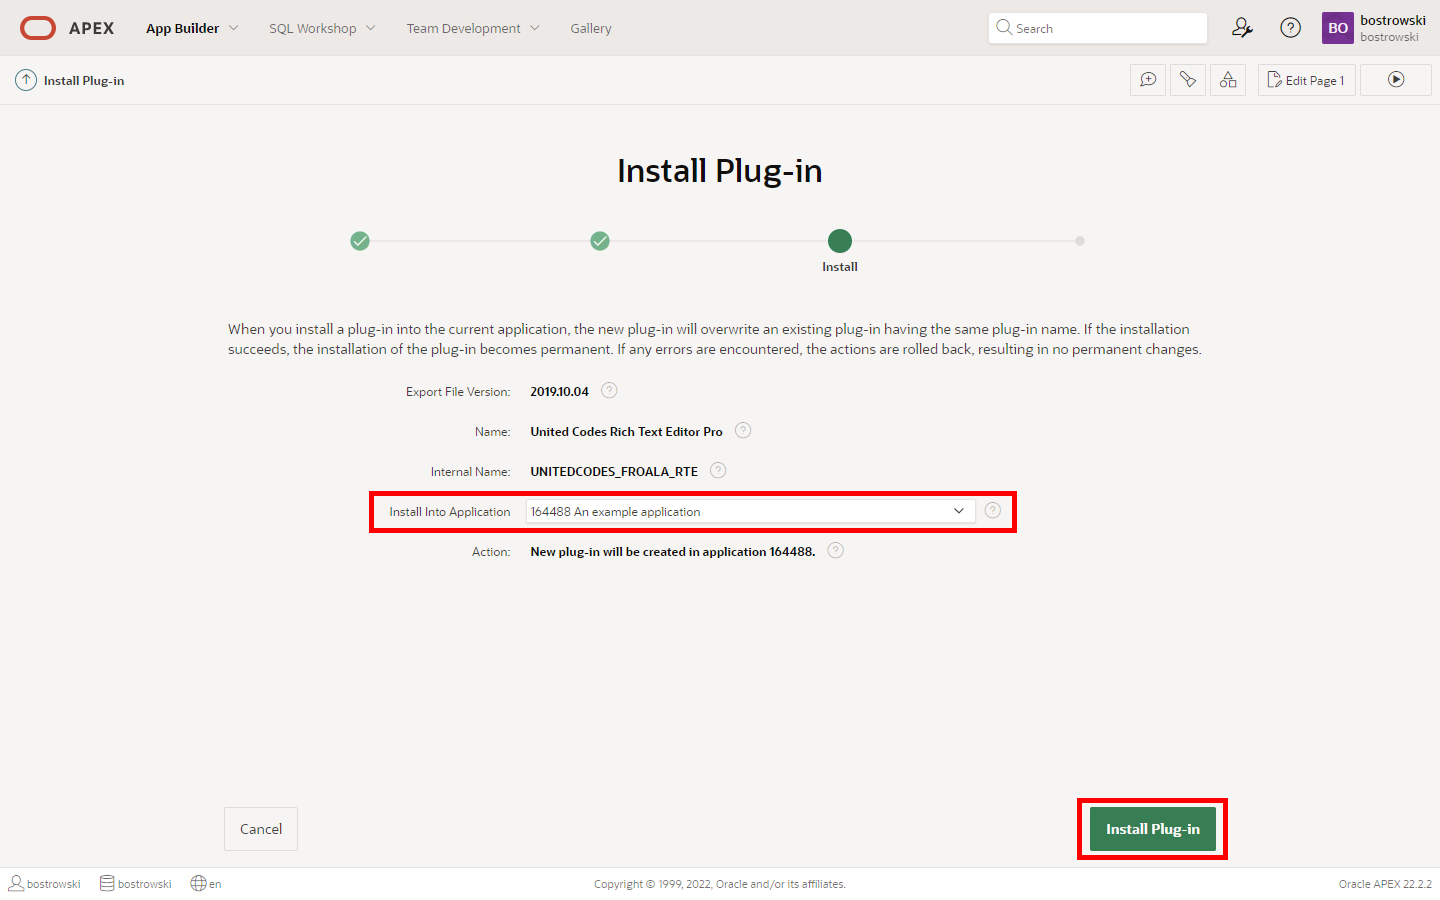
Check if the selected application is valid
-
Click the Install Plug-in button
After successful installation, the plug-in application component settings must be checked and eventually updated. Fill in the correct values if you know what you are doing.
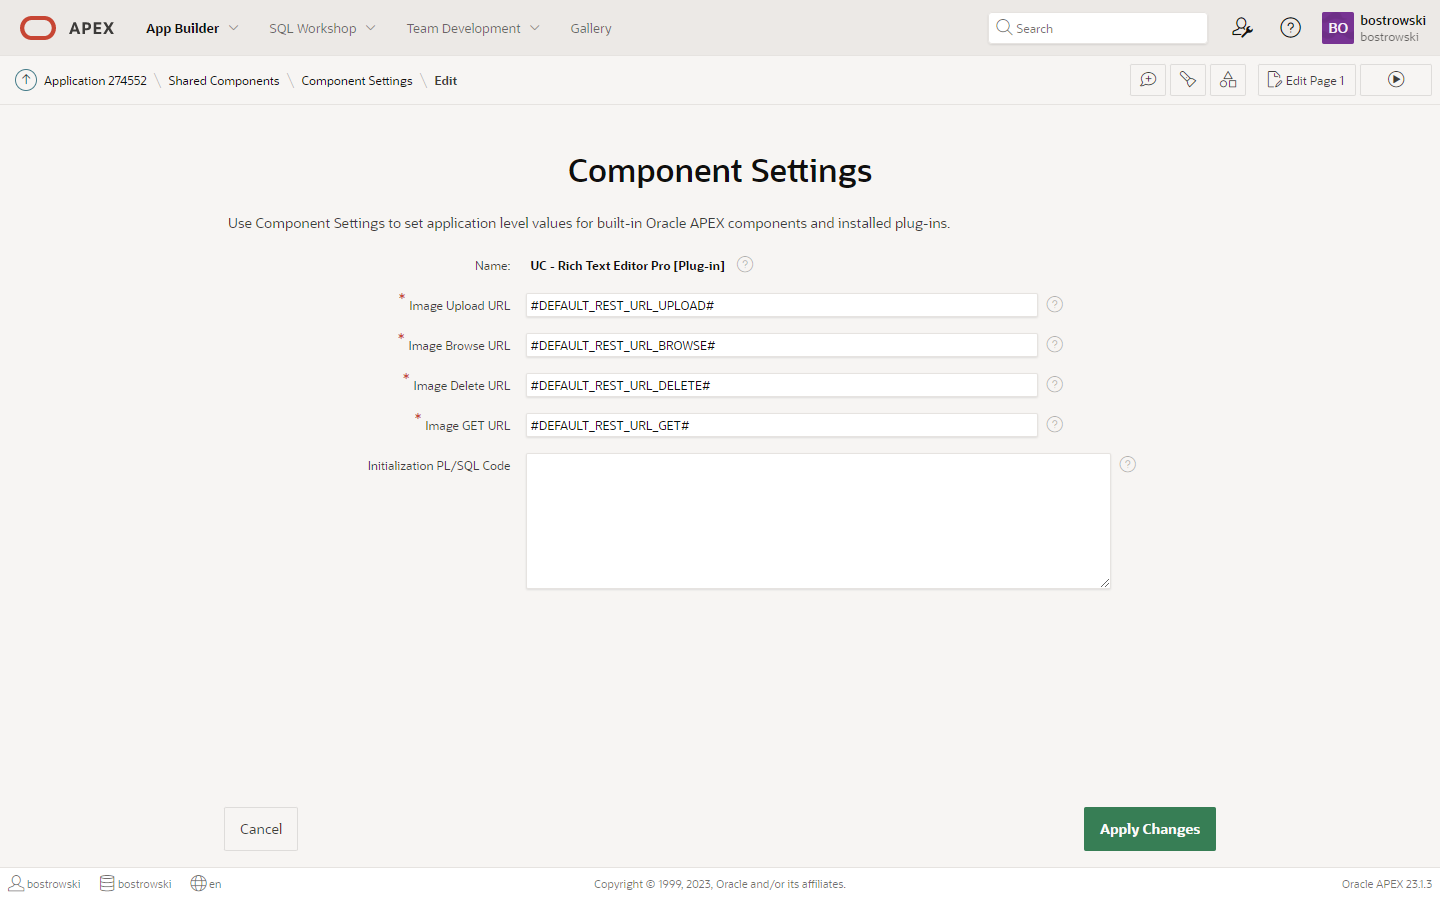
The plug-in application component settings use Oracle APEX help available after clicking the question mark icon.
(optional) Install the supporting plug-ins
The supporting dynamic action and process plug-in are not required to use the core item plug-in but deliver a convenient way to customize the plug-in editor or handle CLOB value.
To install the supporting plug-in, please follow the steps described in the section Install the plug-in an existing application for files:
apex222_dynamic_action_plugin_unitedcodes_froala_rte_da_conf.sqlapex222_process_type_plugin_unitedcodes_froala_rte_process.sql
The supporting dynamic action and process plug-ins are described
Learn more about the supporting dynamic action and process plug-in in the section Supporting plug-ins.