Using native form component
The Oracle APEX native form component simplifies the creation of CRUD forms through intuitive wizards. However, prior to Oracle APEX 22.2, the form component encountered challenges with CLOB values exceeding 32,767 characters. When a CLOB value surpasses this limitation, Oracle APEX raises an error when loading a document, and sets page item value to NULL when submitting a page. These limitations render the form component impractical for managing rich text documents containing extensive text or images.
In this guidelines, developers are guided through the process of creating a native form component and integrating the Rich Text Editor Pro supporting process plug-in. This integration enables rich text documents to surpass Oracle APEX Session State limitations for CLOB values.
Before implementing the plug-in please read the implementation prerequisites described in parent document.
Create report page with form
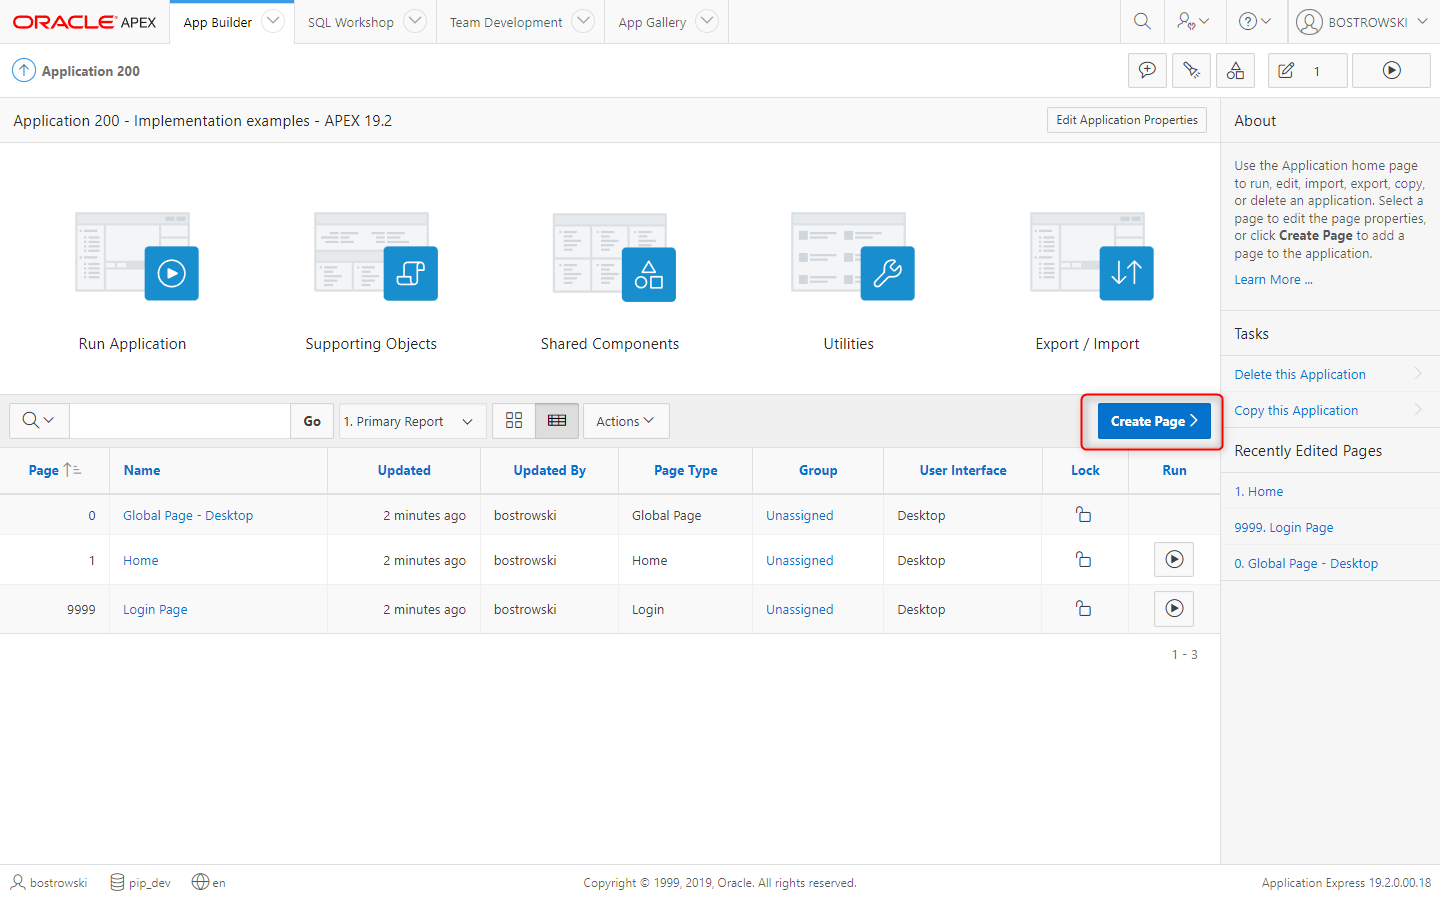
In the application builder home page click Create Page button.
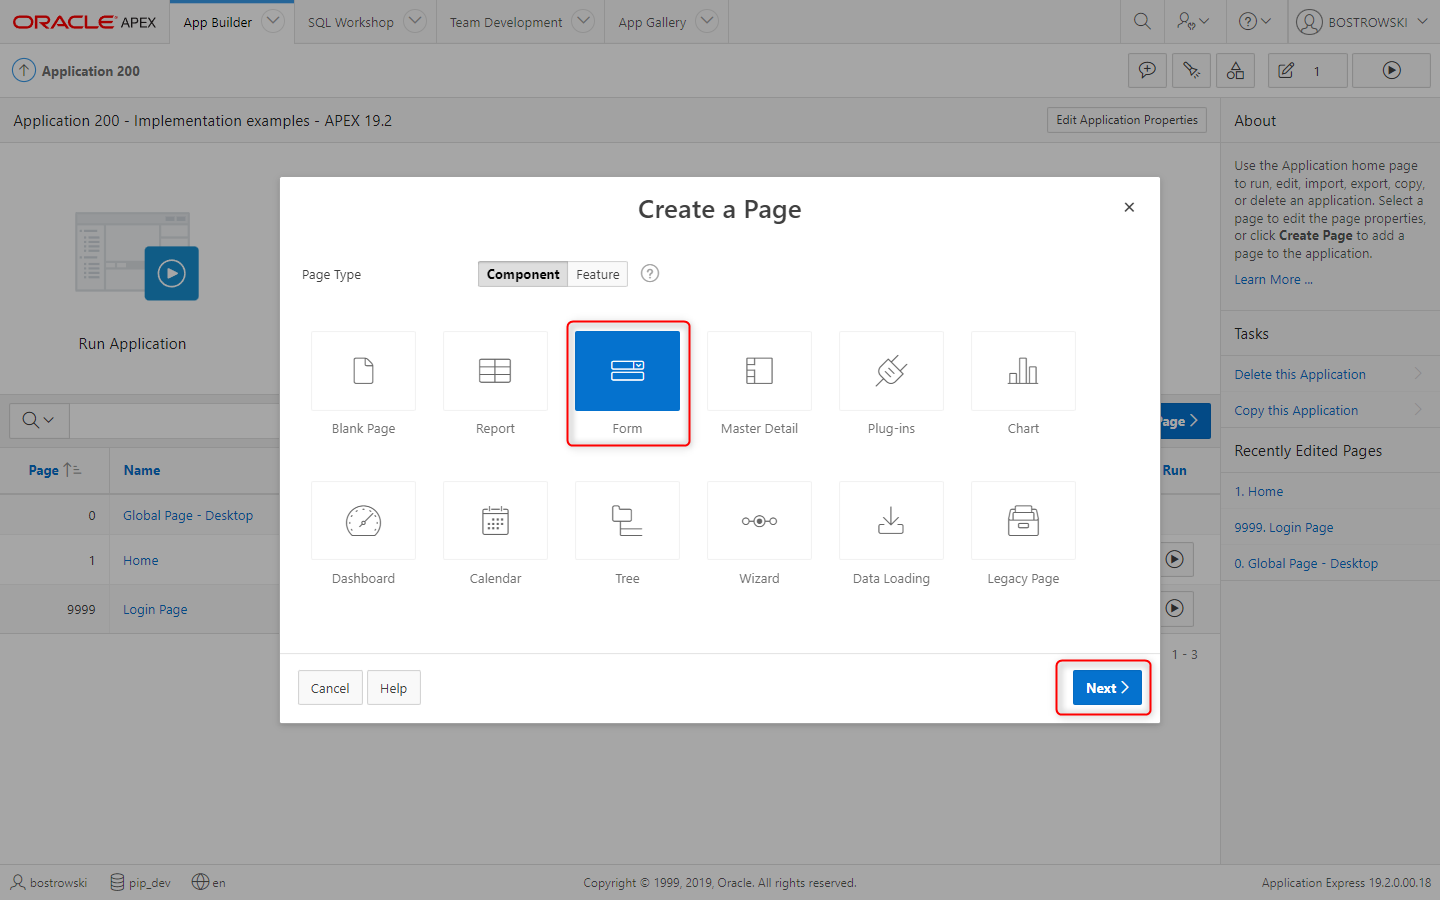
In the Create Page wizard step select Form and click the Next button.
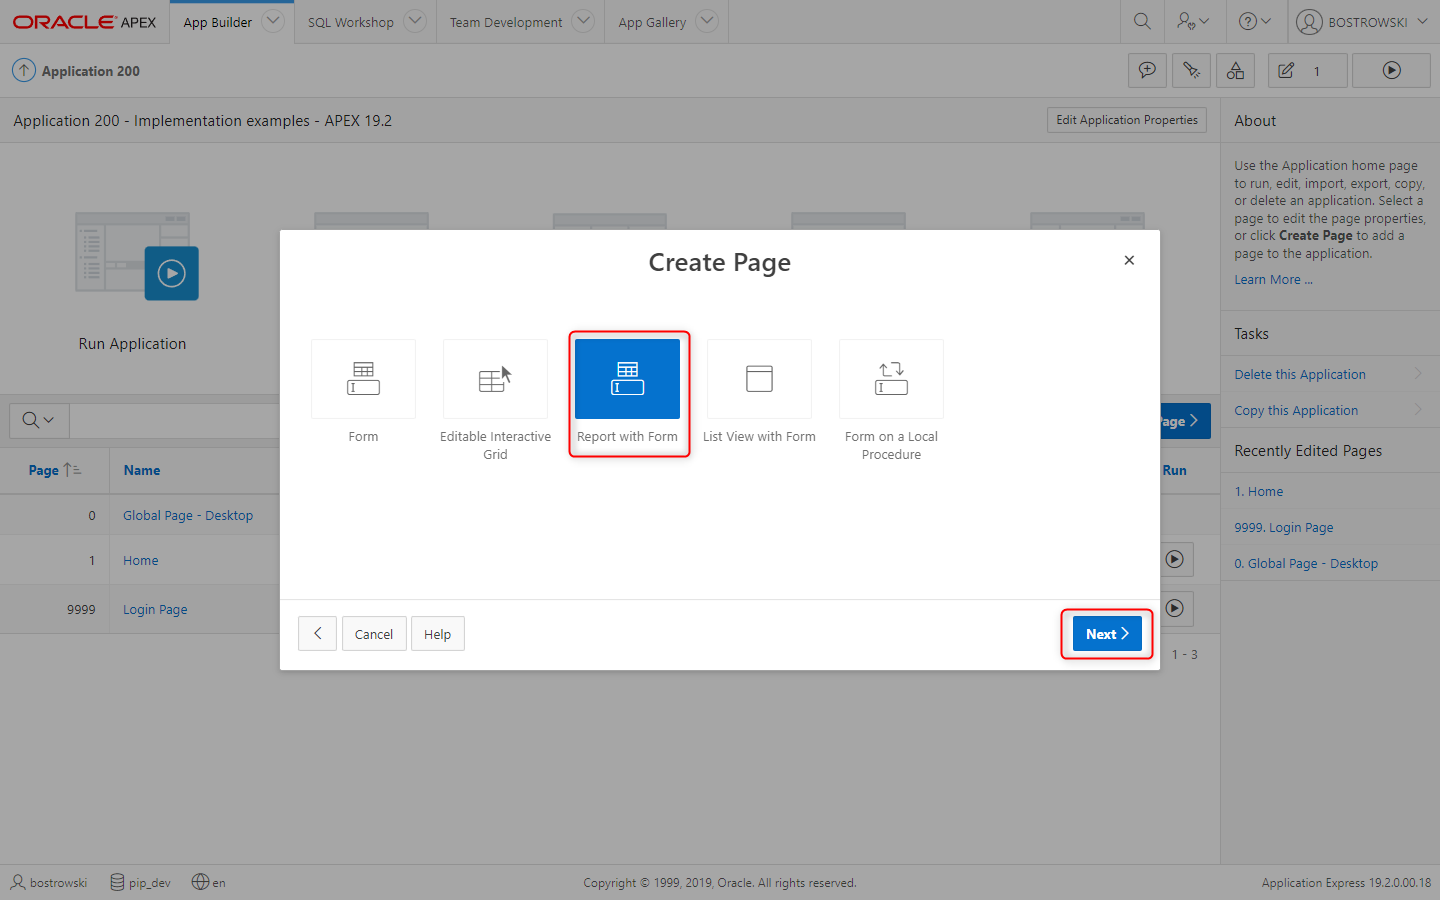
In the Create Page wizard step select Report with Form and click the Next button.
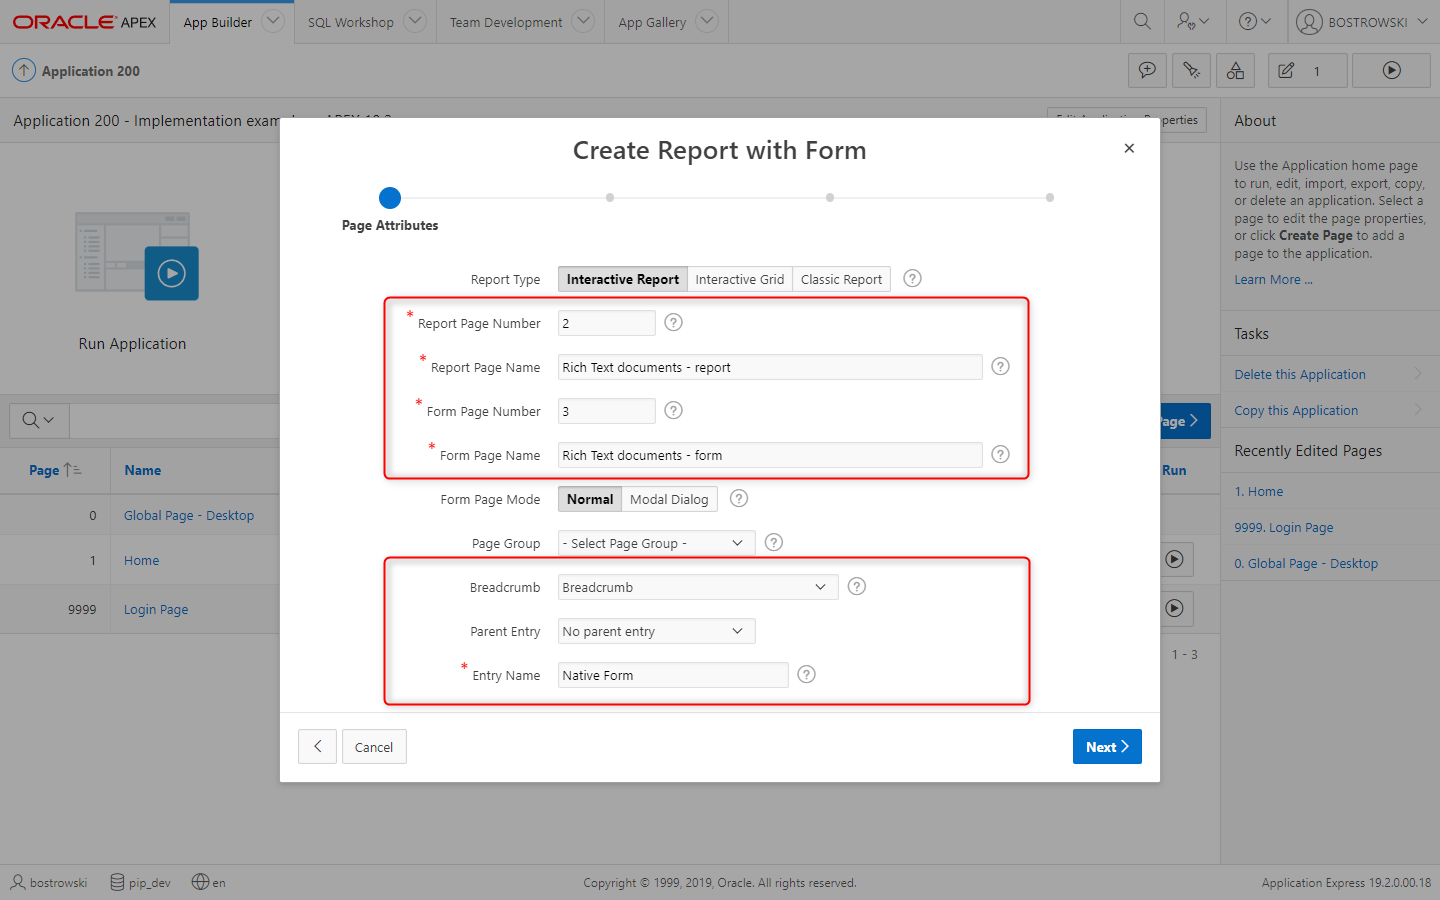
In the Create Report with Form (Page Attributes) wizard step:
- Set Report Page Number to
2 - Set Report Page Name to
Rich Text documents - report - Set Form page Number to
3 - Set Form Page Name to
Rich Text documents - form - (Optional) Configure breadcrumbs
In the Create Report with Form (Navigation Menu) wizard step:
- Set Navigation Preference to Create a new navigation menu entry
- Set New Navigation Menu Entry to
Native Form Component - Click Next button

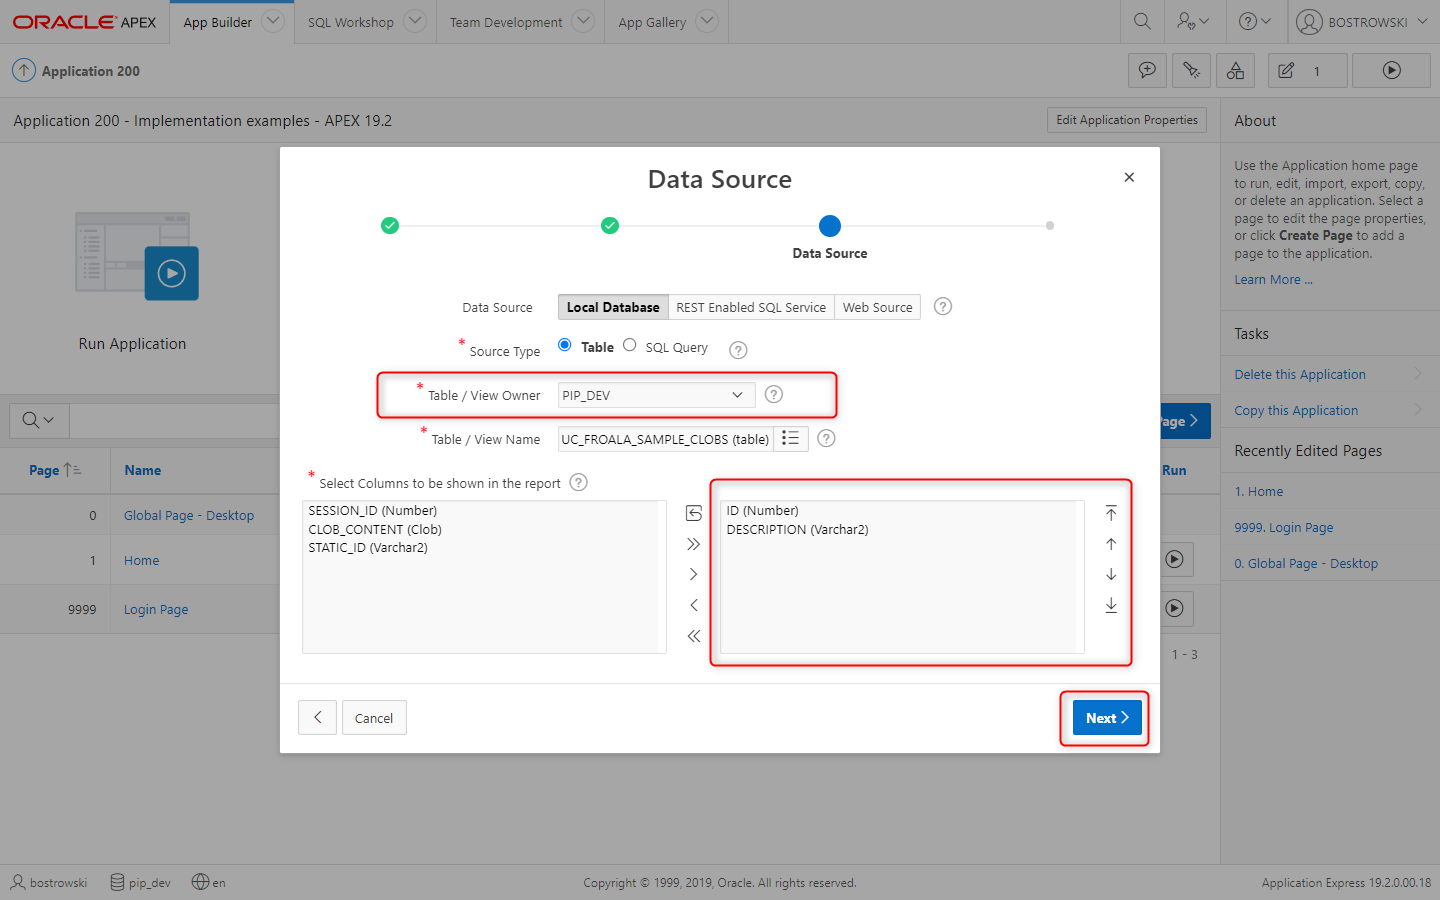
In the Data Source (Data Source) wizard step:
- Set Table / View Name to
UC_FROALA_SAMPLE_CLOBS - In Select Columns to be shown in the report select only columns
IDandDESCRIPTION - Click Next button
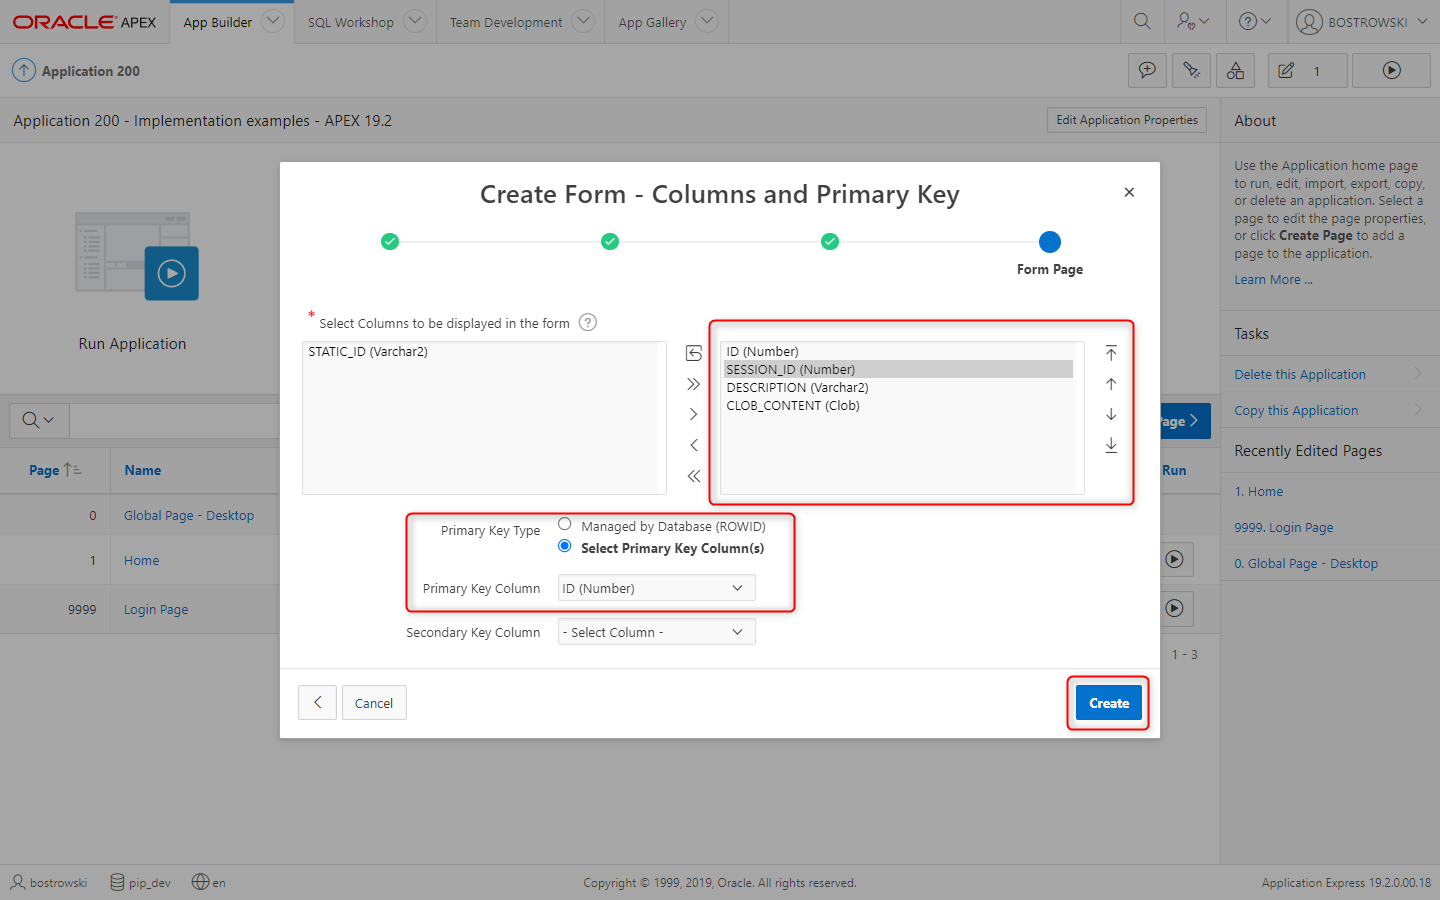
In the Create Form - Columns and Primary Key (Form Page) wizard step:
- In Select Columns to be displayed in the form select columns
ID,DESCRIPTION,SESSION_ID, andCLOB_CONTENT - Set Primary Key Type to Select Primary Key Column(s)
- Click Create button
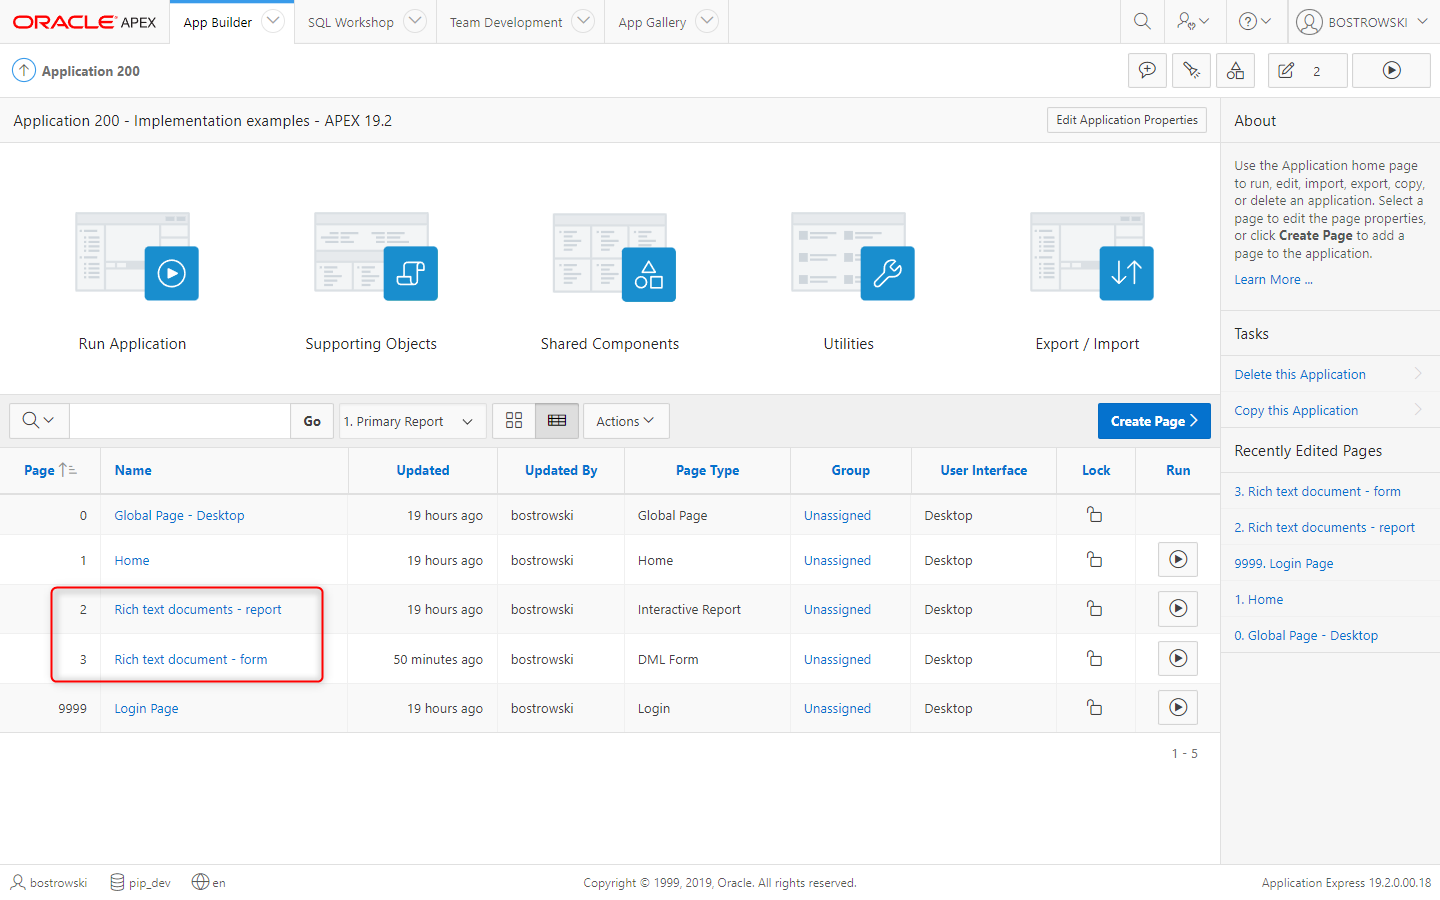
New pages are created, see the screen shot below.
Enable page item plug-in
Enabling plug-in uploading images is optional, not uploaded images remain in a document as is without modyfing document HTML.
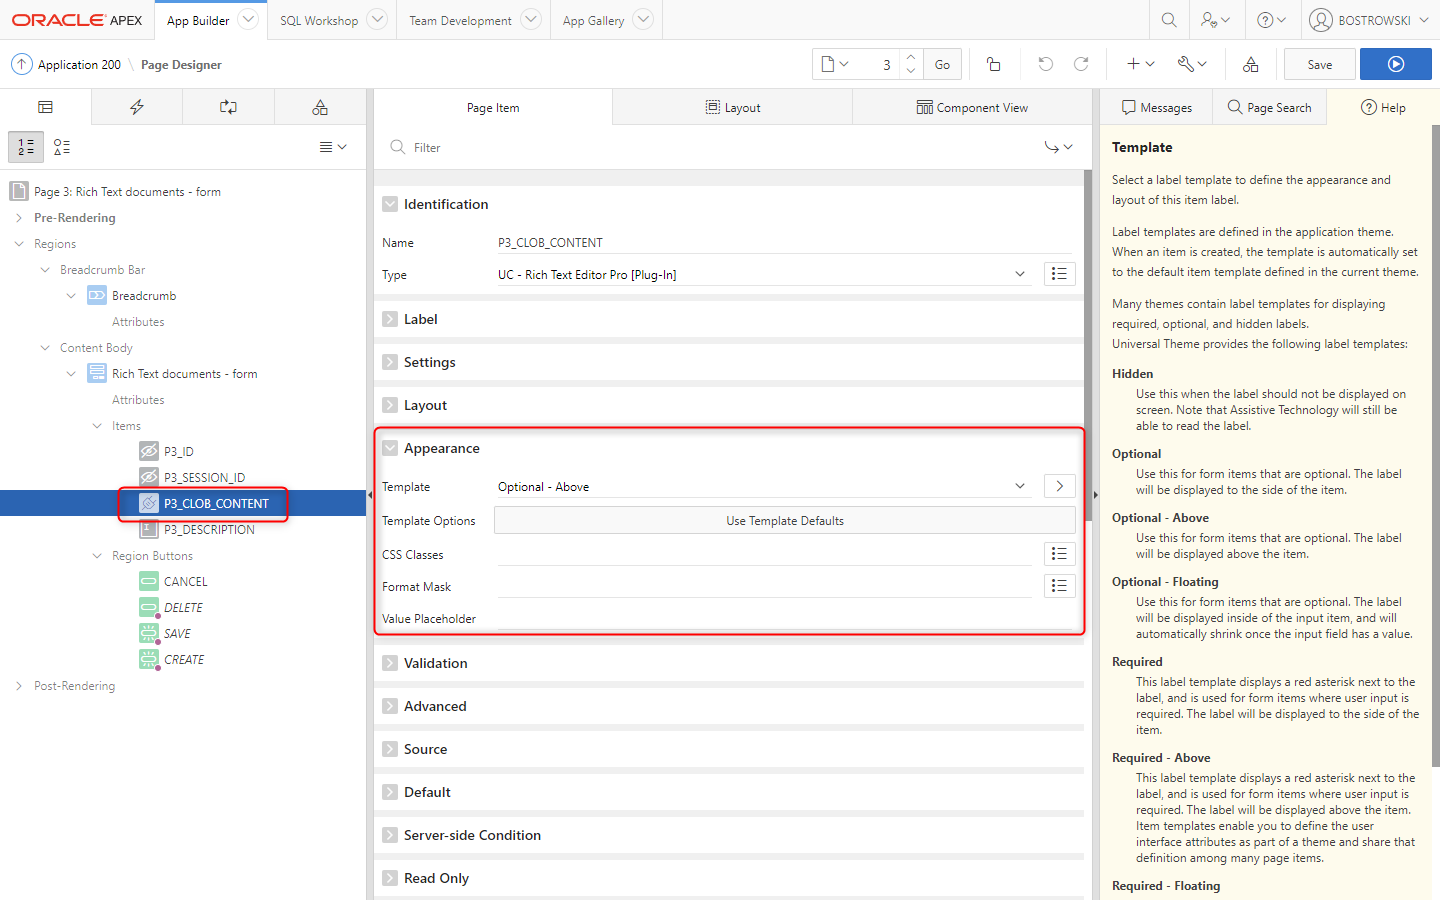
Navigate to page 3 Rich text document - form and update page item P3_CLOB_CONTENT by following these steps:
- Set Identification \ Type to UC - Rich Text Editor Pro [Plug-in].
- Set Appearance \ Template to Template \ Optional - Above
- Set Settings \ Upload Image(s) on Request(s) to
SAVE,CREATE - Empty Source \ Form Region
- Save a page
- Settings
- Appearance
- Source

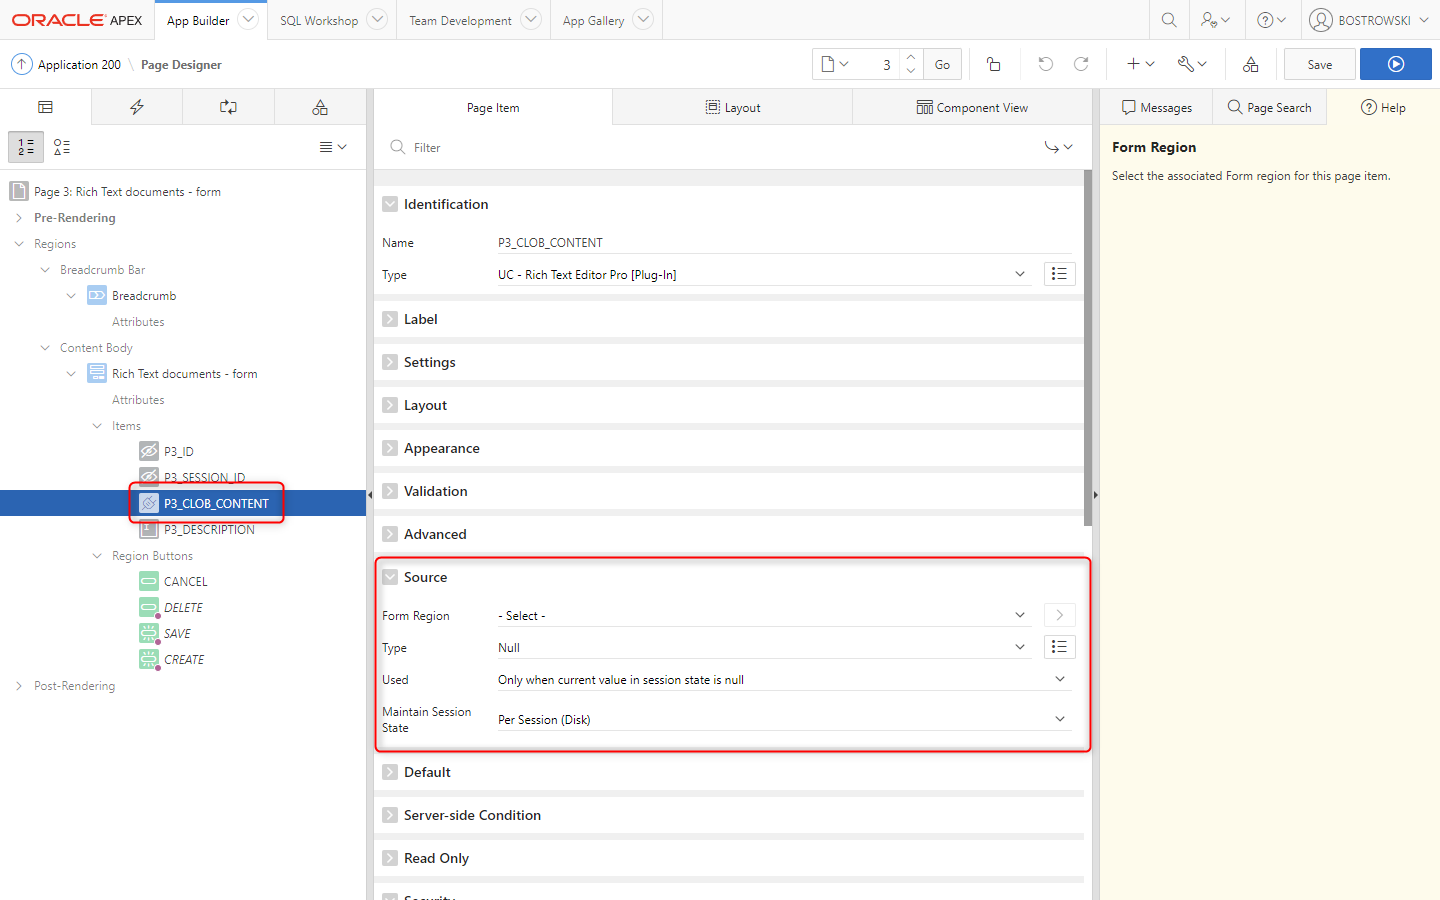
This is required for Oracle APEX version prior to 22.2. When Oracle APEX native form attempts to load CLOB value exceeding 32,767 characters, it raises an error ORA-06502: PL/SQL: numeric or value error. In Oracle APEX versions prior to 22.2, loading CLOB values must be implemented using the supporting process plug-in
Page processes
Using the plug-in along with native form component in Oracle APEX 19.2 require implementing two processes, loading and updating a document (CLOB) in the database. Inserting process is not required since native form will insert NULL for CLOB values exceeding 32,768 characters.
Navigate page designer to page 3 - Rich text document - form and implement two processes before header and at processing point.
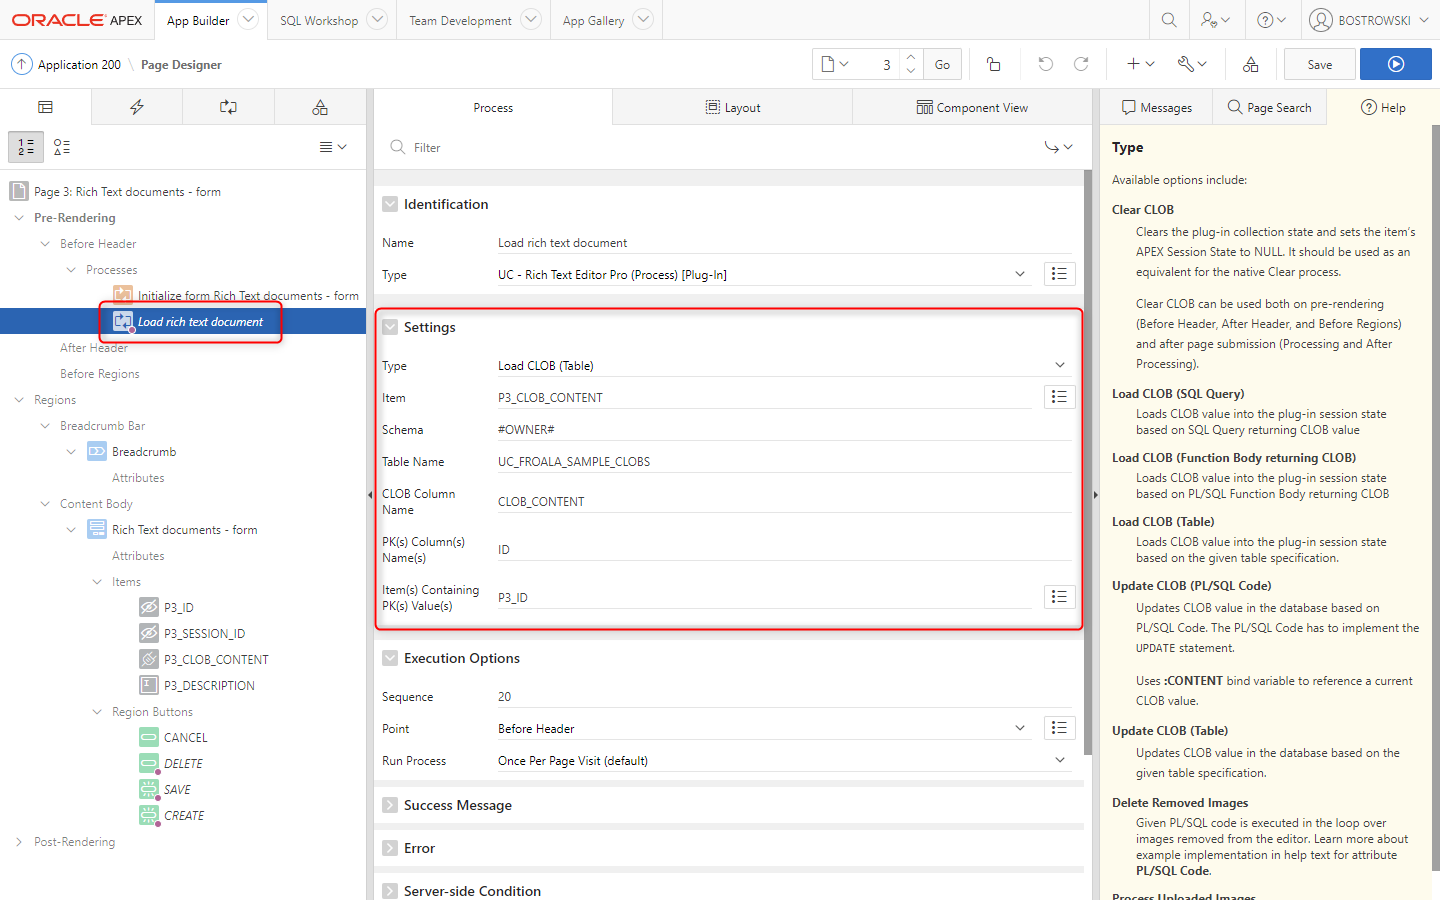
Before header - load a document
Create a new Before Header page process named Load rich text document and:
- Set Identification \ Type to UC - Rich Text Editor Pro (Process) [Plug-in]
- Set Settings \ Type to Load CLOB (Table)
- Set Settings \ Item to
P3_CLOB_CONTENT - Set Settings \ Schema to
#OWNER# - Set Settings \ Table Name to
UC_FROALA_SAMPLE_CLOBS - Set Settings \ CLOB Column Name to
CLOB_CONTENT - Set Settings \ PK(s) Column(s) to
ID - Set Settings \ Item(s) Containing PK(s) Values(s) to
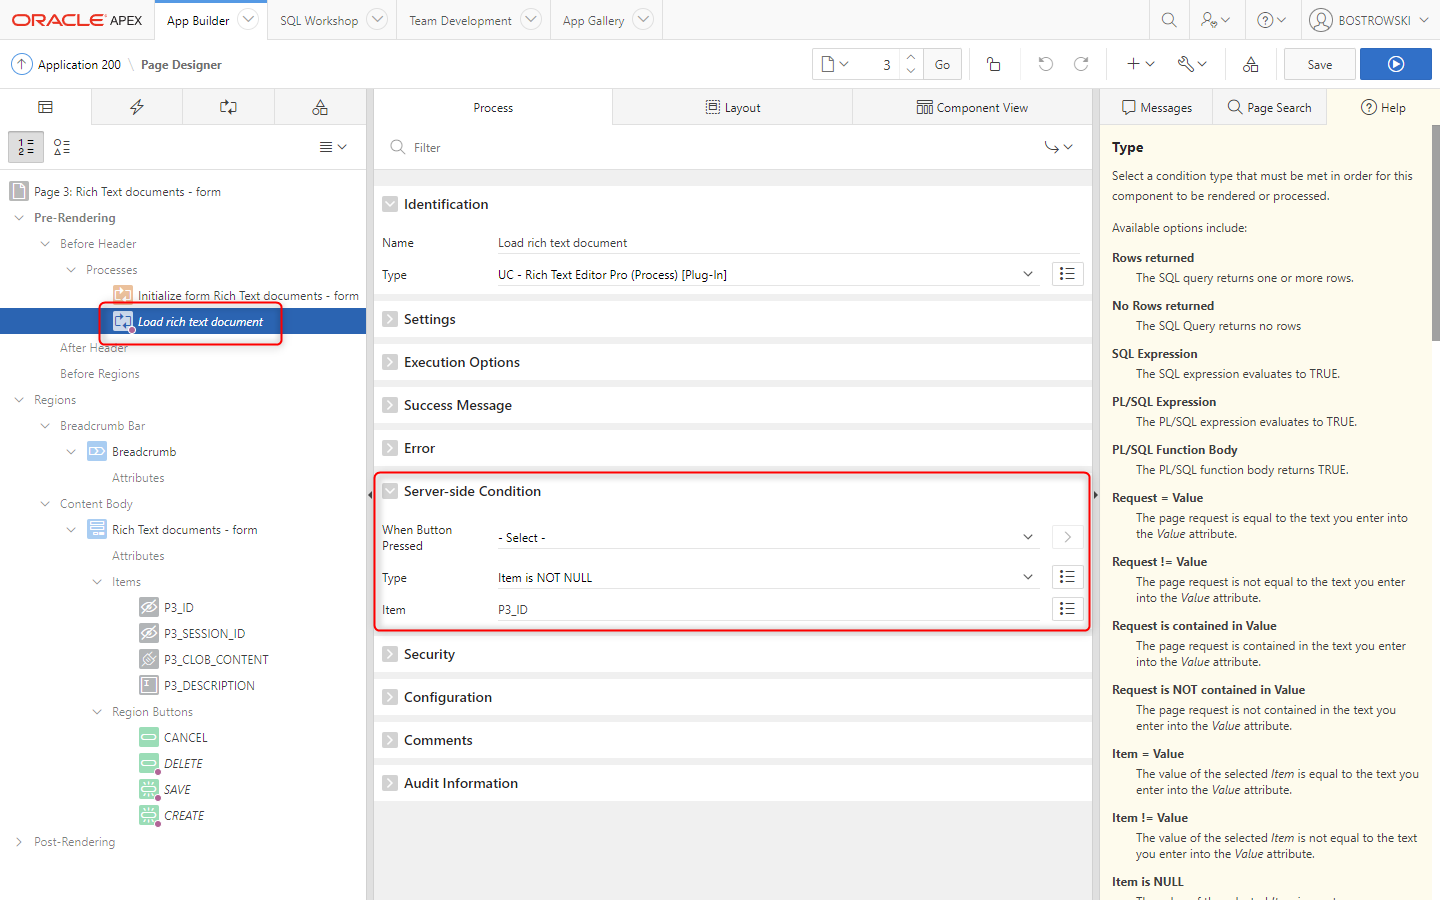
P3_ID - Set Success Message to
Rich text document &P3_ID. loaded. - Set Server-side Condition \ Type to Item is NOT NULL
- Set Server-side Condition \ Item to
P3_ID - Save changes
- Settings
- Server-side Condition
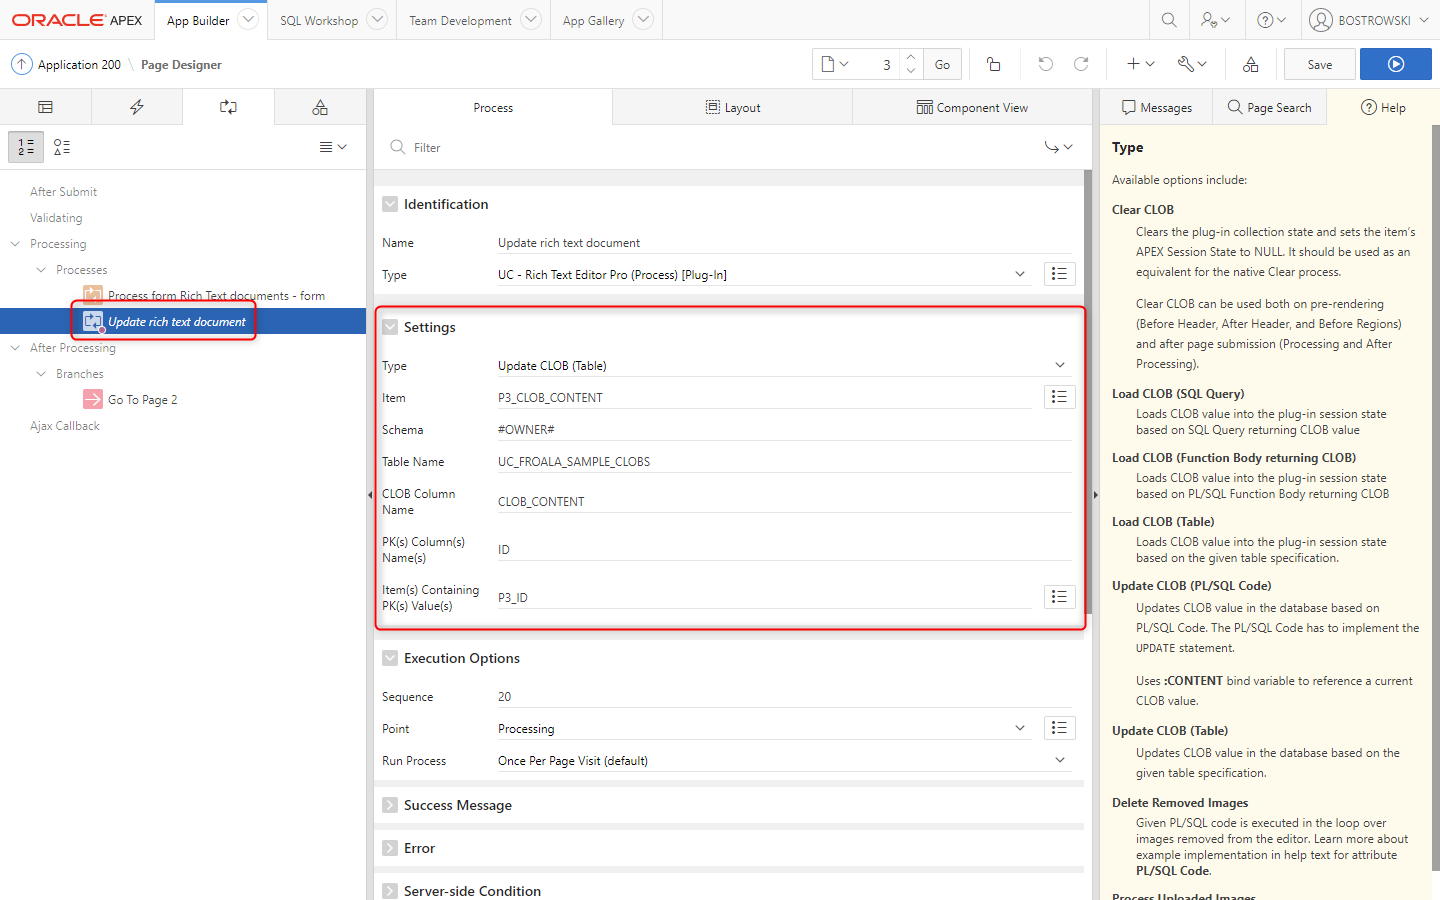
Processing - update a document
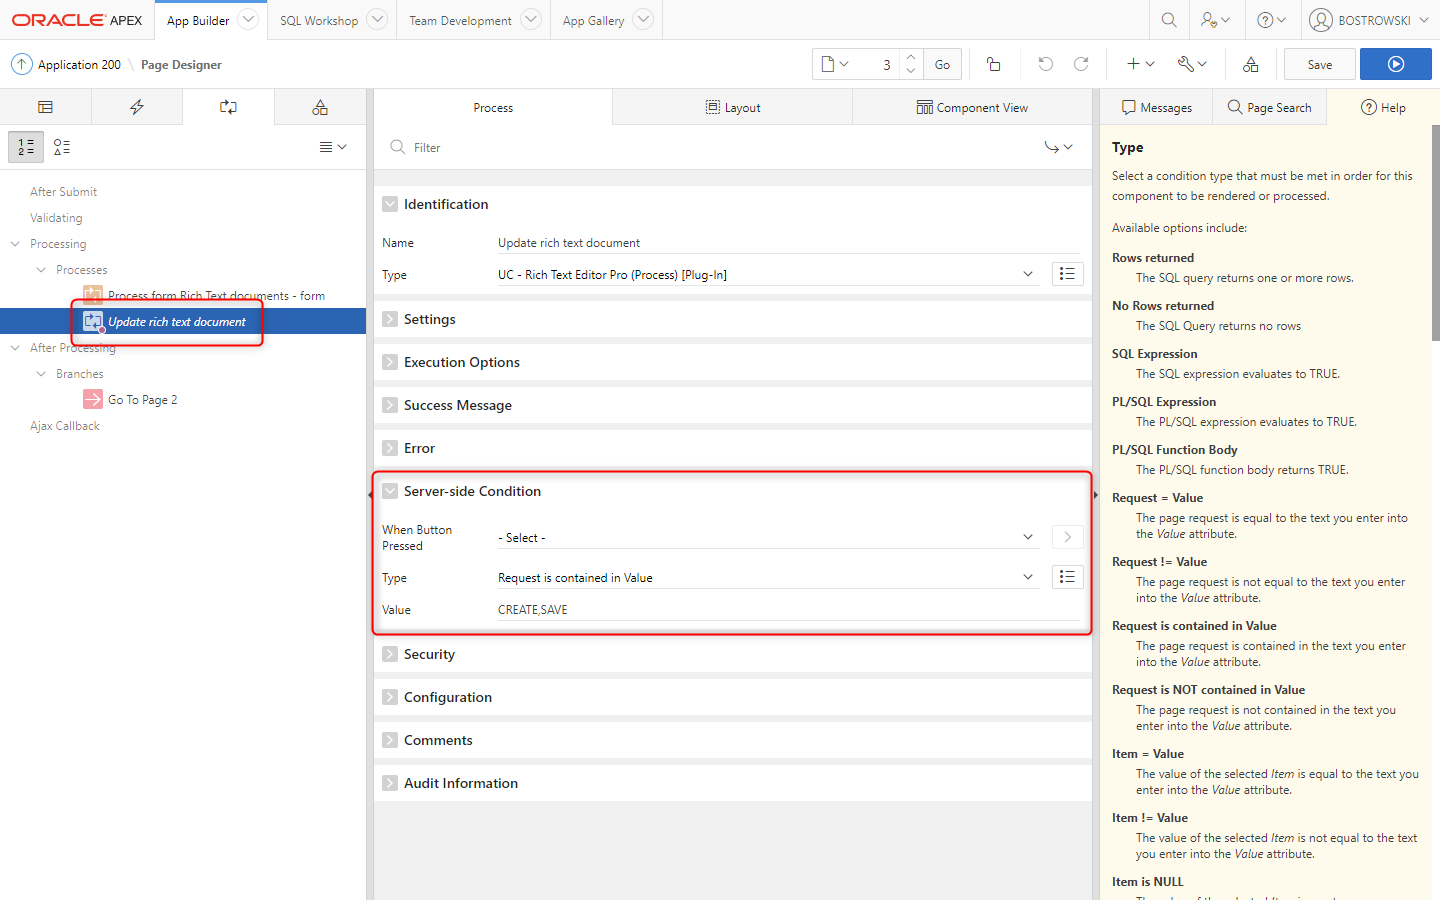
Create a new Processing page process named Update rich text document and:
- Set Identification \ Type to UC - Rich Text Editor Pro (Process) [Plug-in]
- Set Settings \ Type to Update CLOB (Table)
- Set Settings \ Item to
P3_CLOB_CONTENT - Set Settings \ Schema to
#OWNER# - Set Settings \ Table Name to
UC_FROALA_SAMPLE_CLOBS - Set Settings \ CLOB Column Name to
CLOB_CONTENT - Set Settings \ PK(s) Column(s) to
ID - Set Settings \ Item(s) Containing PK(s) Values(s) to
P3_ID - Set Success Message to
Rich text document &P3_ID. updated. - Set Server-side Condition \ Type to Request is contained in Value
- Set Server-side Condition \ Value to
CREATE,SAVE - Save page changes
- Settings
- Server-side Condition
Test it
his simple and easy to implement instruction showcase how easy is utilizing the supporting process plug-in to load and update rich text documents.
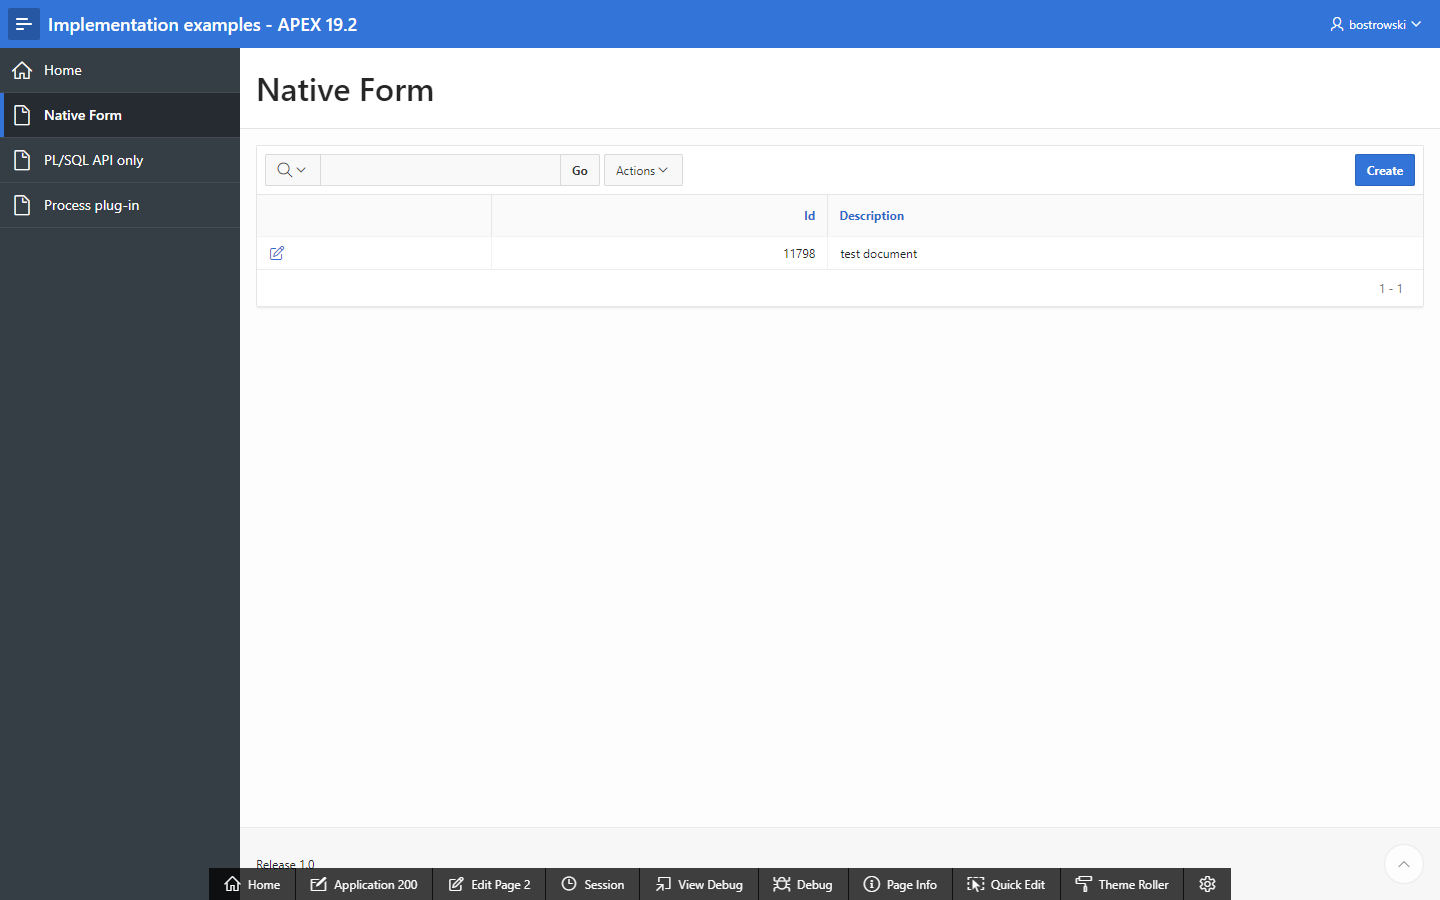
To test the implementation using interactive report and modal page implementing the plug-in run page 2 - Rich Text documents - report.
- Interactive report preview
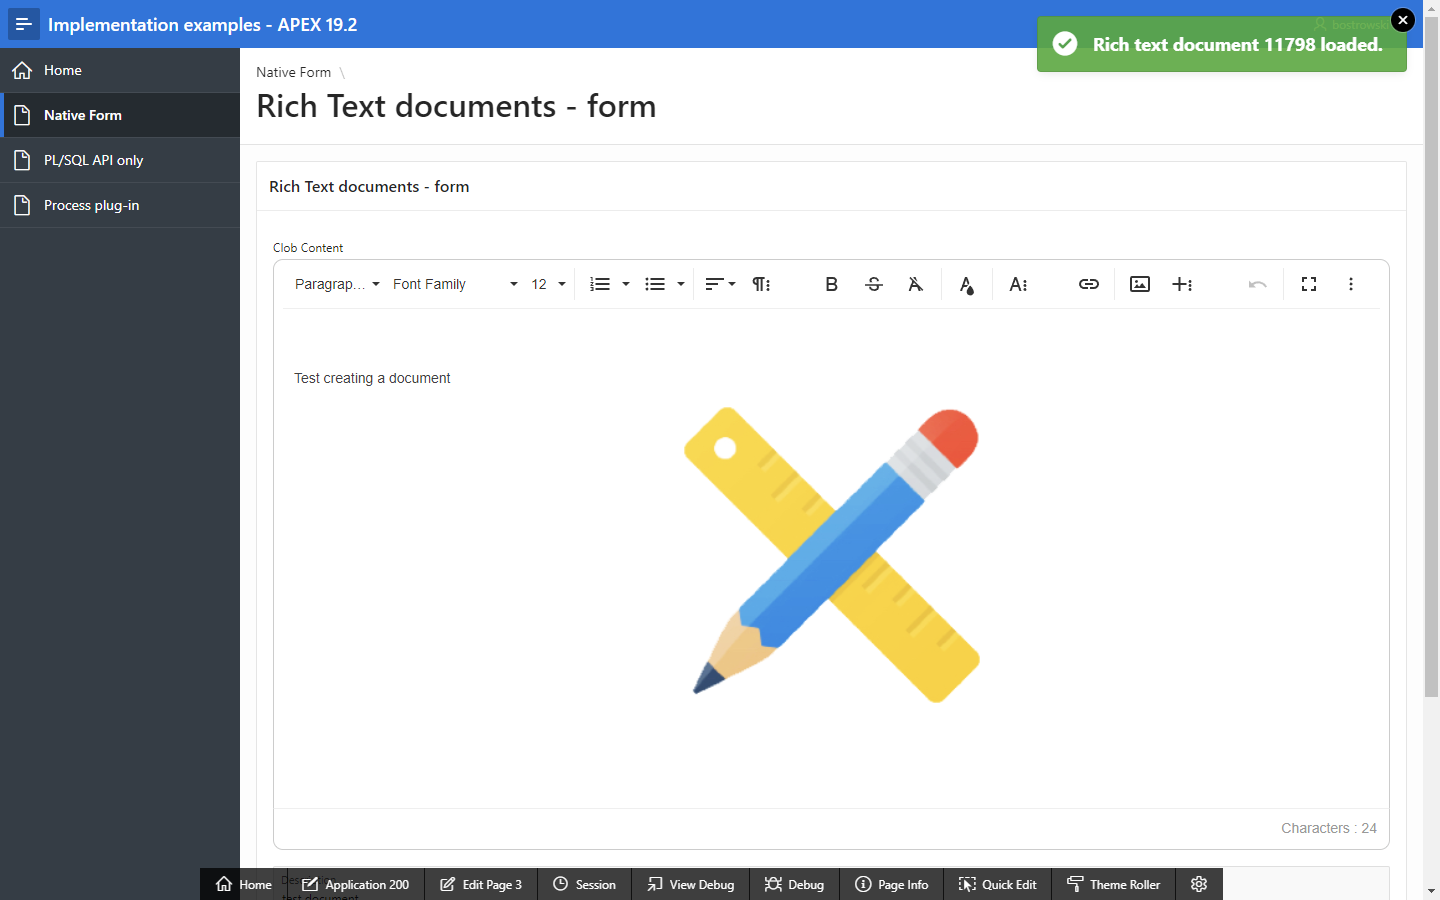
- Form preview
The plug-in sample application showcase this instructions implemention in example page Handle CLOB using native Form component and supporting process plug-in.